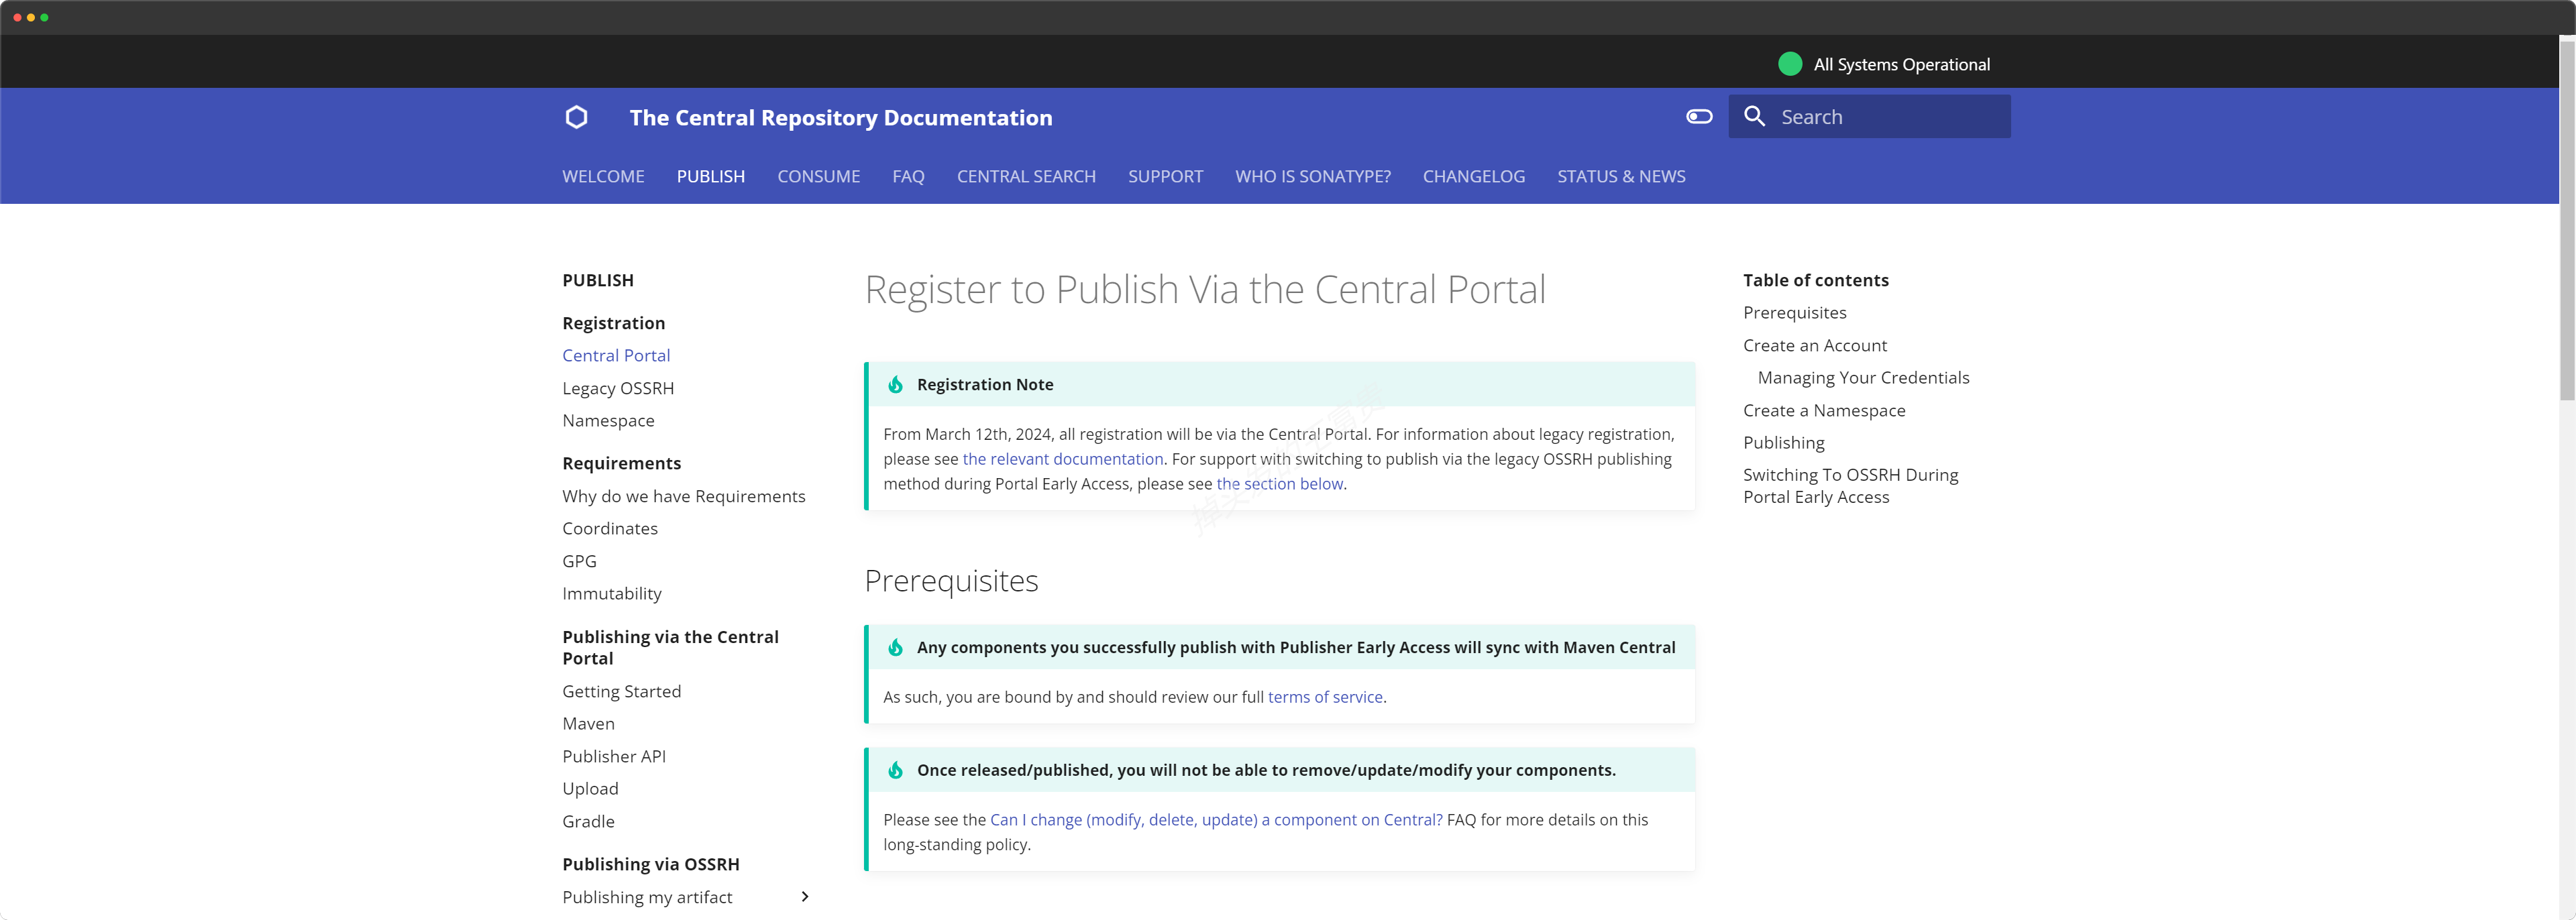
在官方的文档 中提到:
从 2024 年 3 月 12 日起,所有注册都将通过中央门户网站进行。有关传统注册的信息,请参阅相关文档。有关在门户网站早期访问期间通过传统的 OSSRH 发布方式进行发布的支持,请参阅以下部分。
所以 2024 年 3 月 12 日之后,【拥抱开源】发布自己的项目到maven中央仓库 博主原来写的教程就不适用了,所以这次博主根据他的官方文档出了一篇新教程,踩了很多的坑,最后三天终于把他弄出来了,这里我会把我遇到的坑给大家整理一下,避免大家踩坑。
如果你没看过原来的那篇文章没问题的【拥抱开源】发布自己的项目到maven中央仓库 ,现在我们开始从0开始,到最后jar包成功发布在maven中央仓库上。
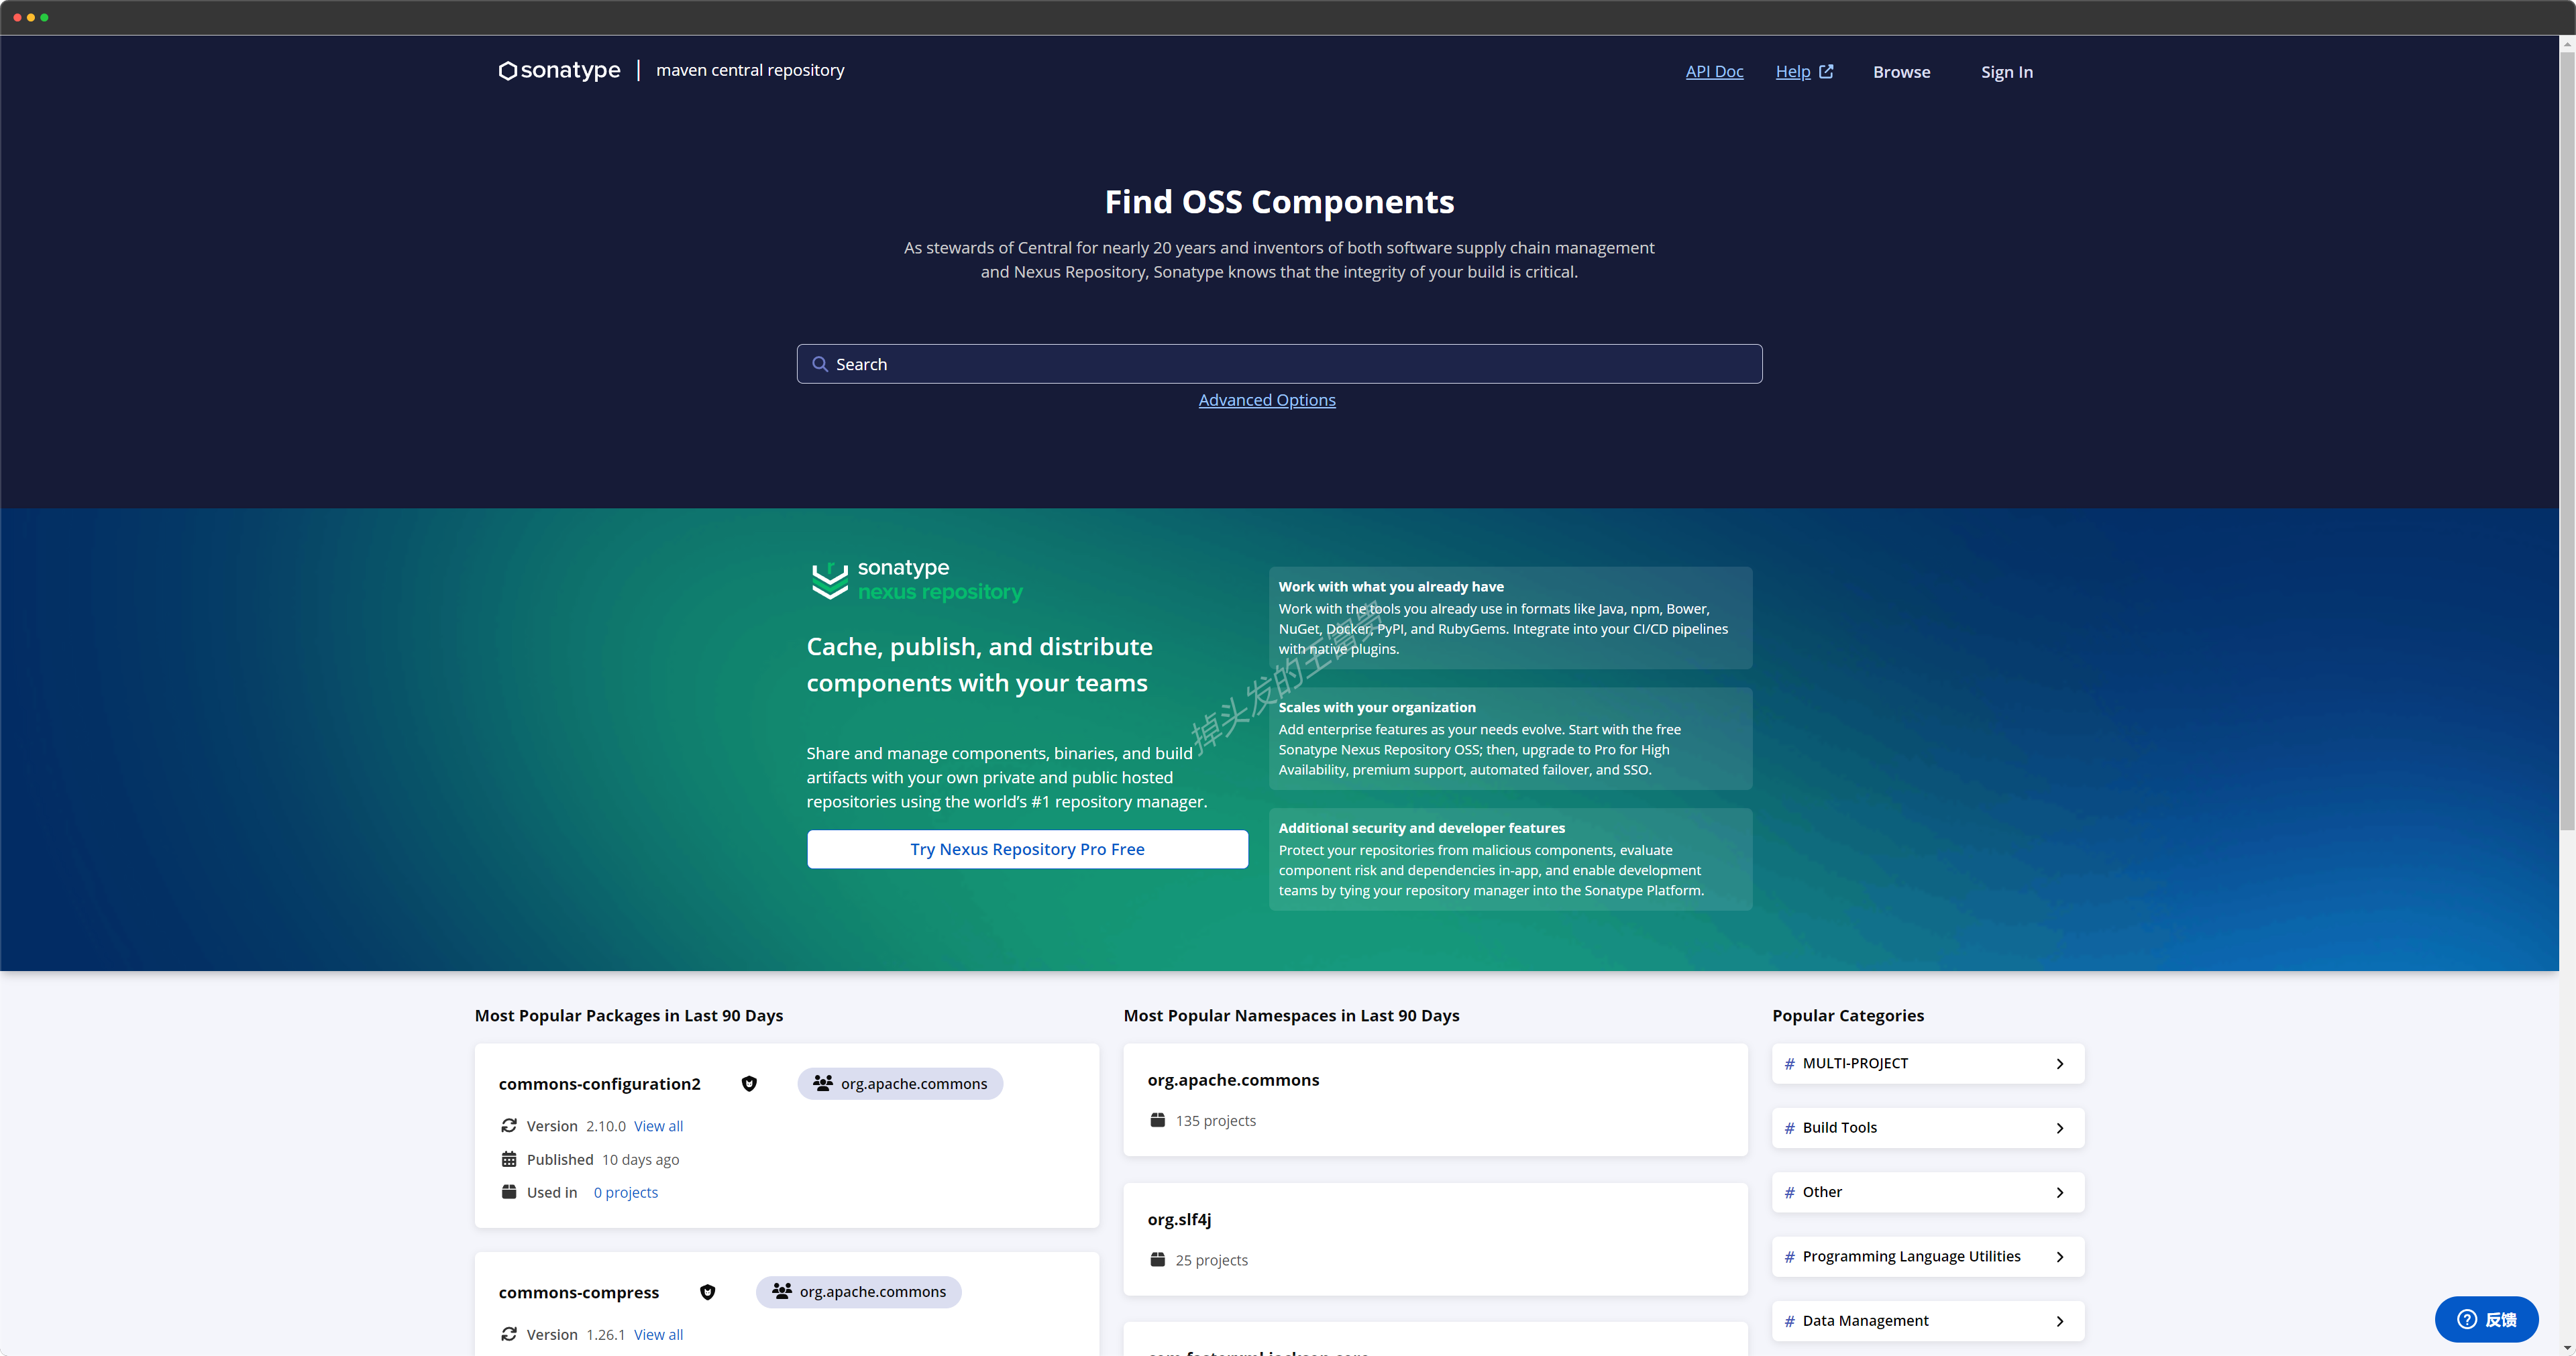
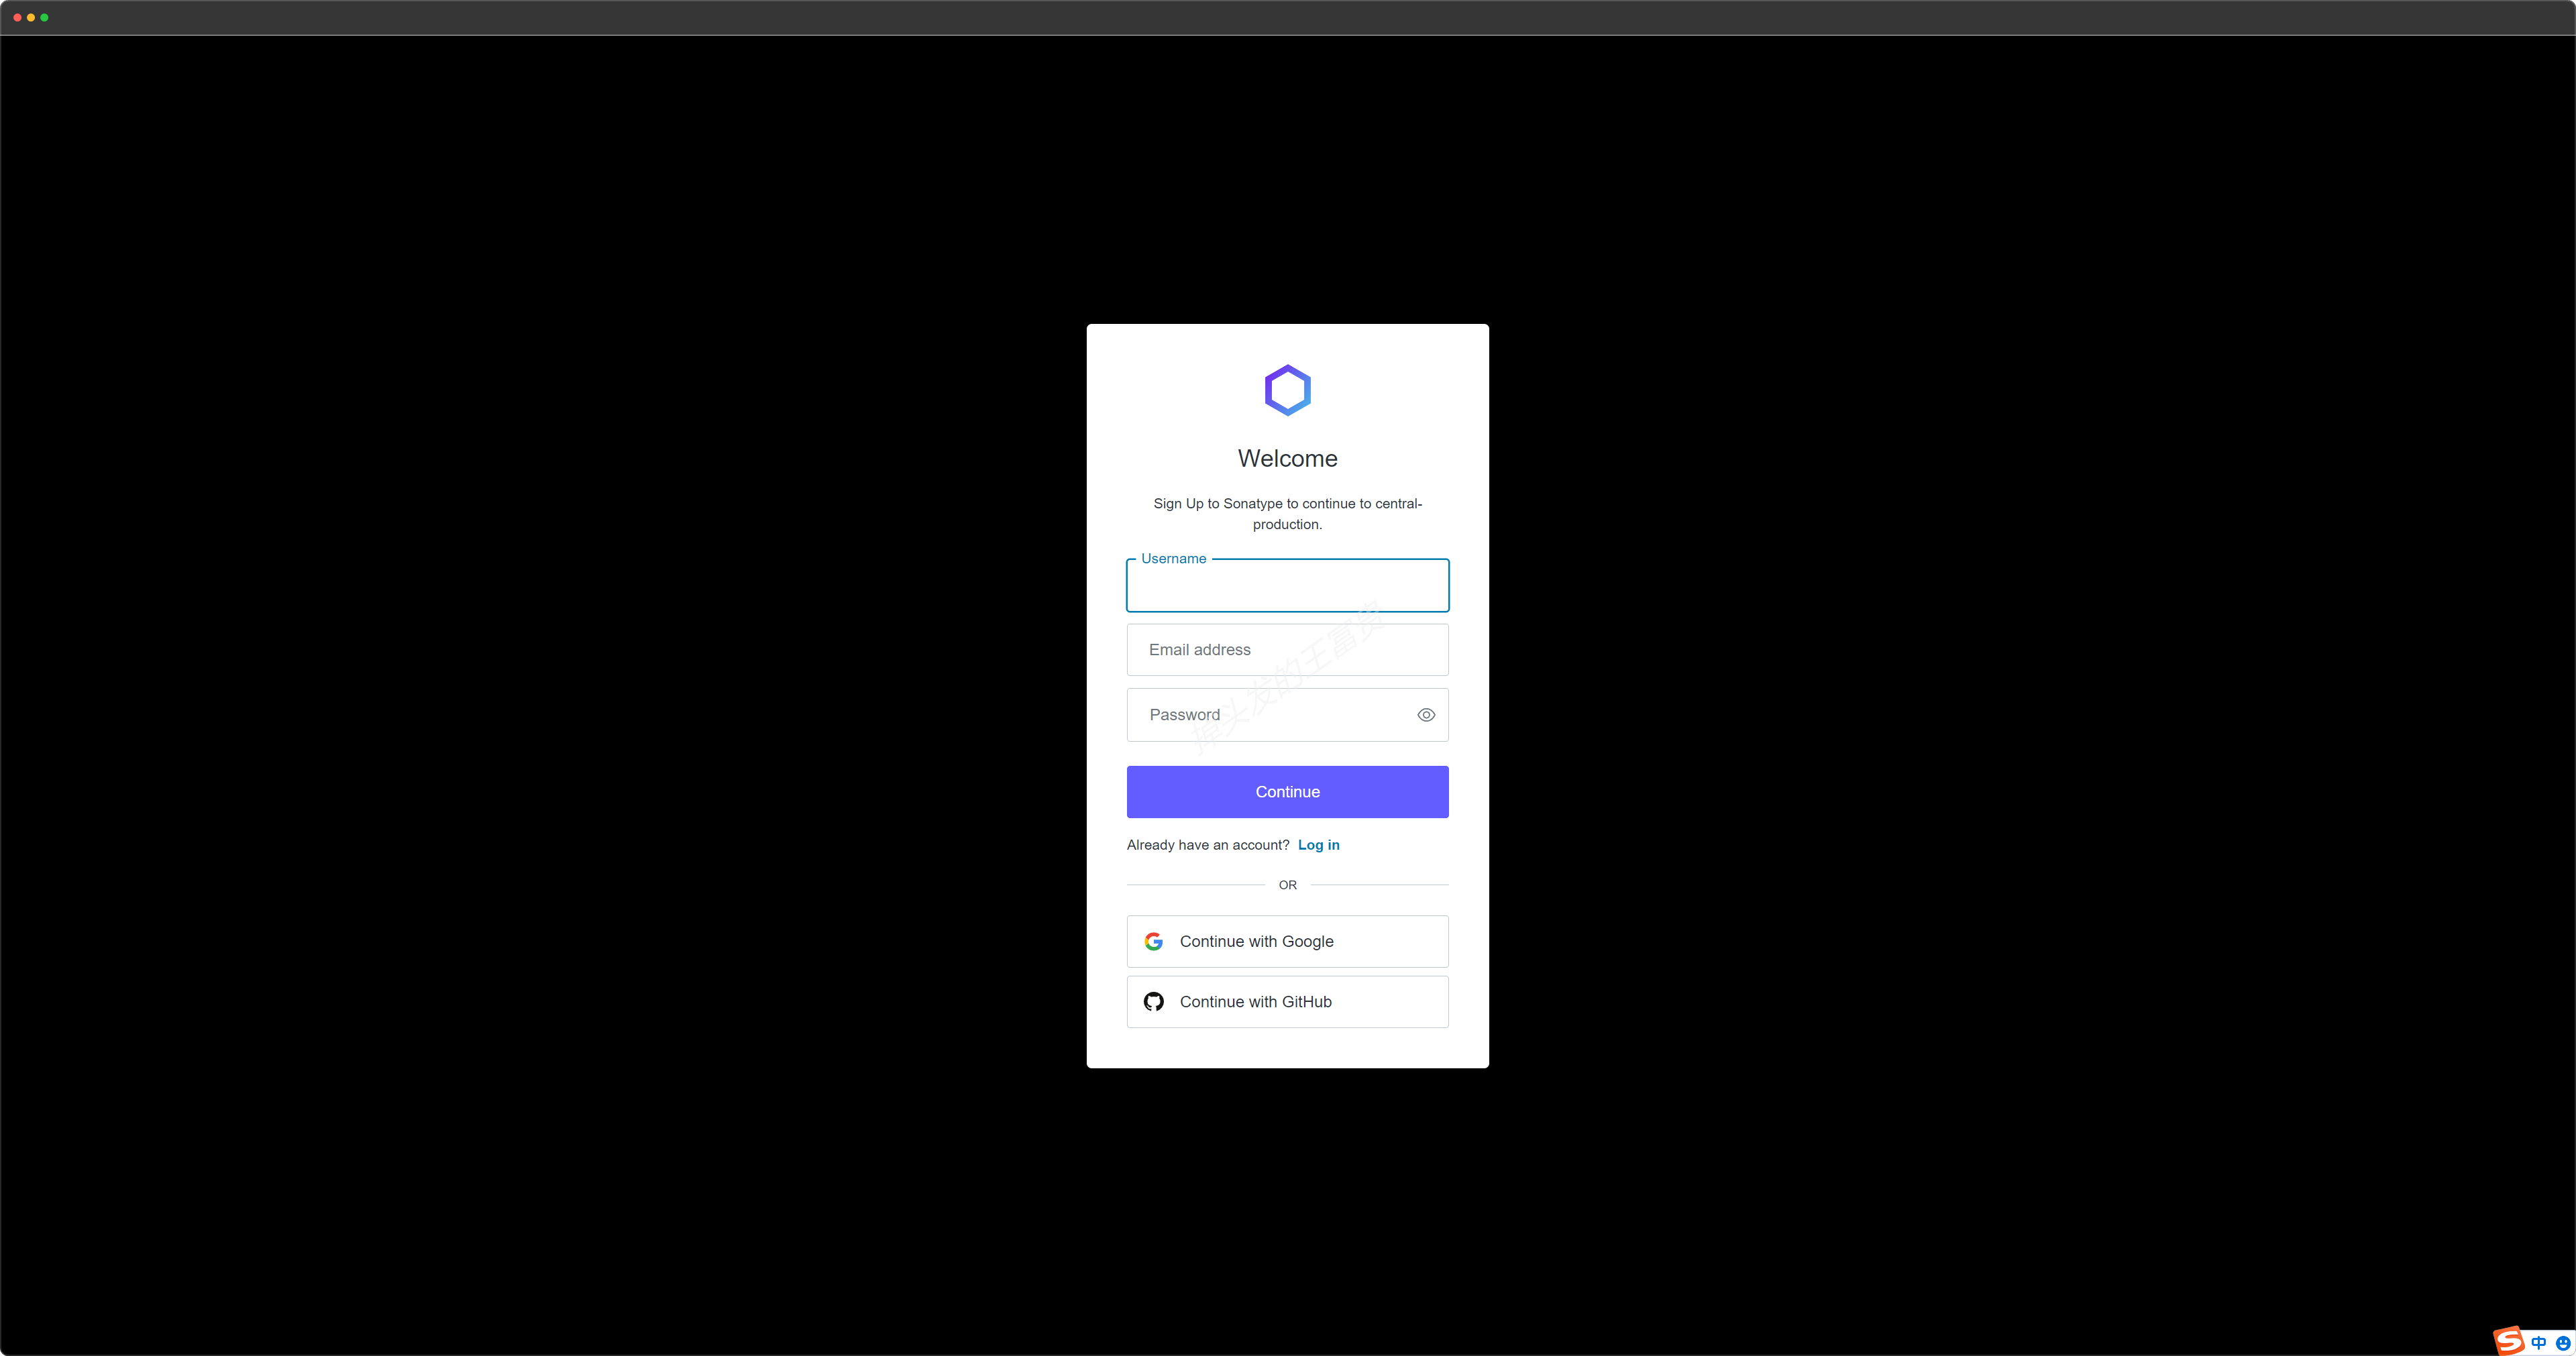
账号准备 第一步,注册账号 https://central.sonatype.com/
依次输入username,邮箱地址,和密码。
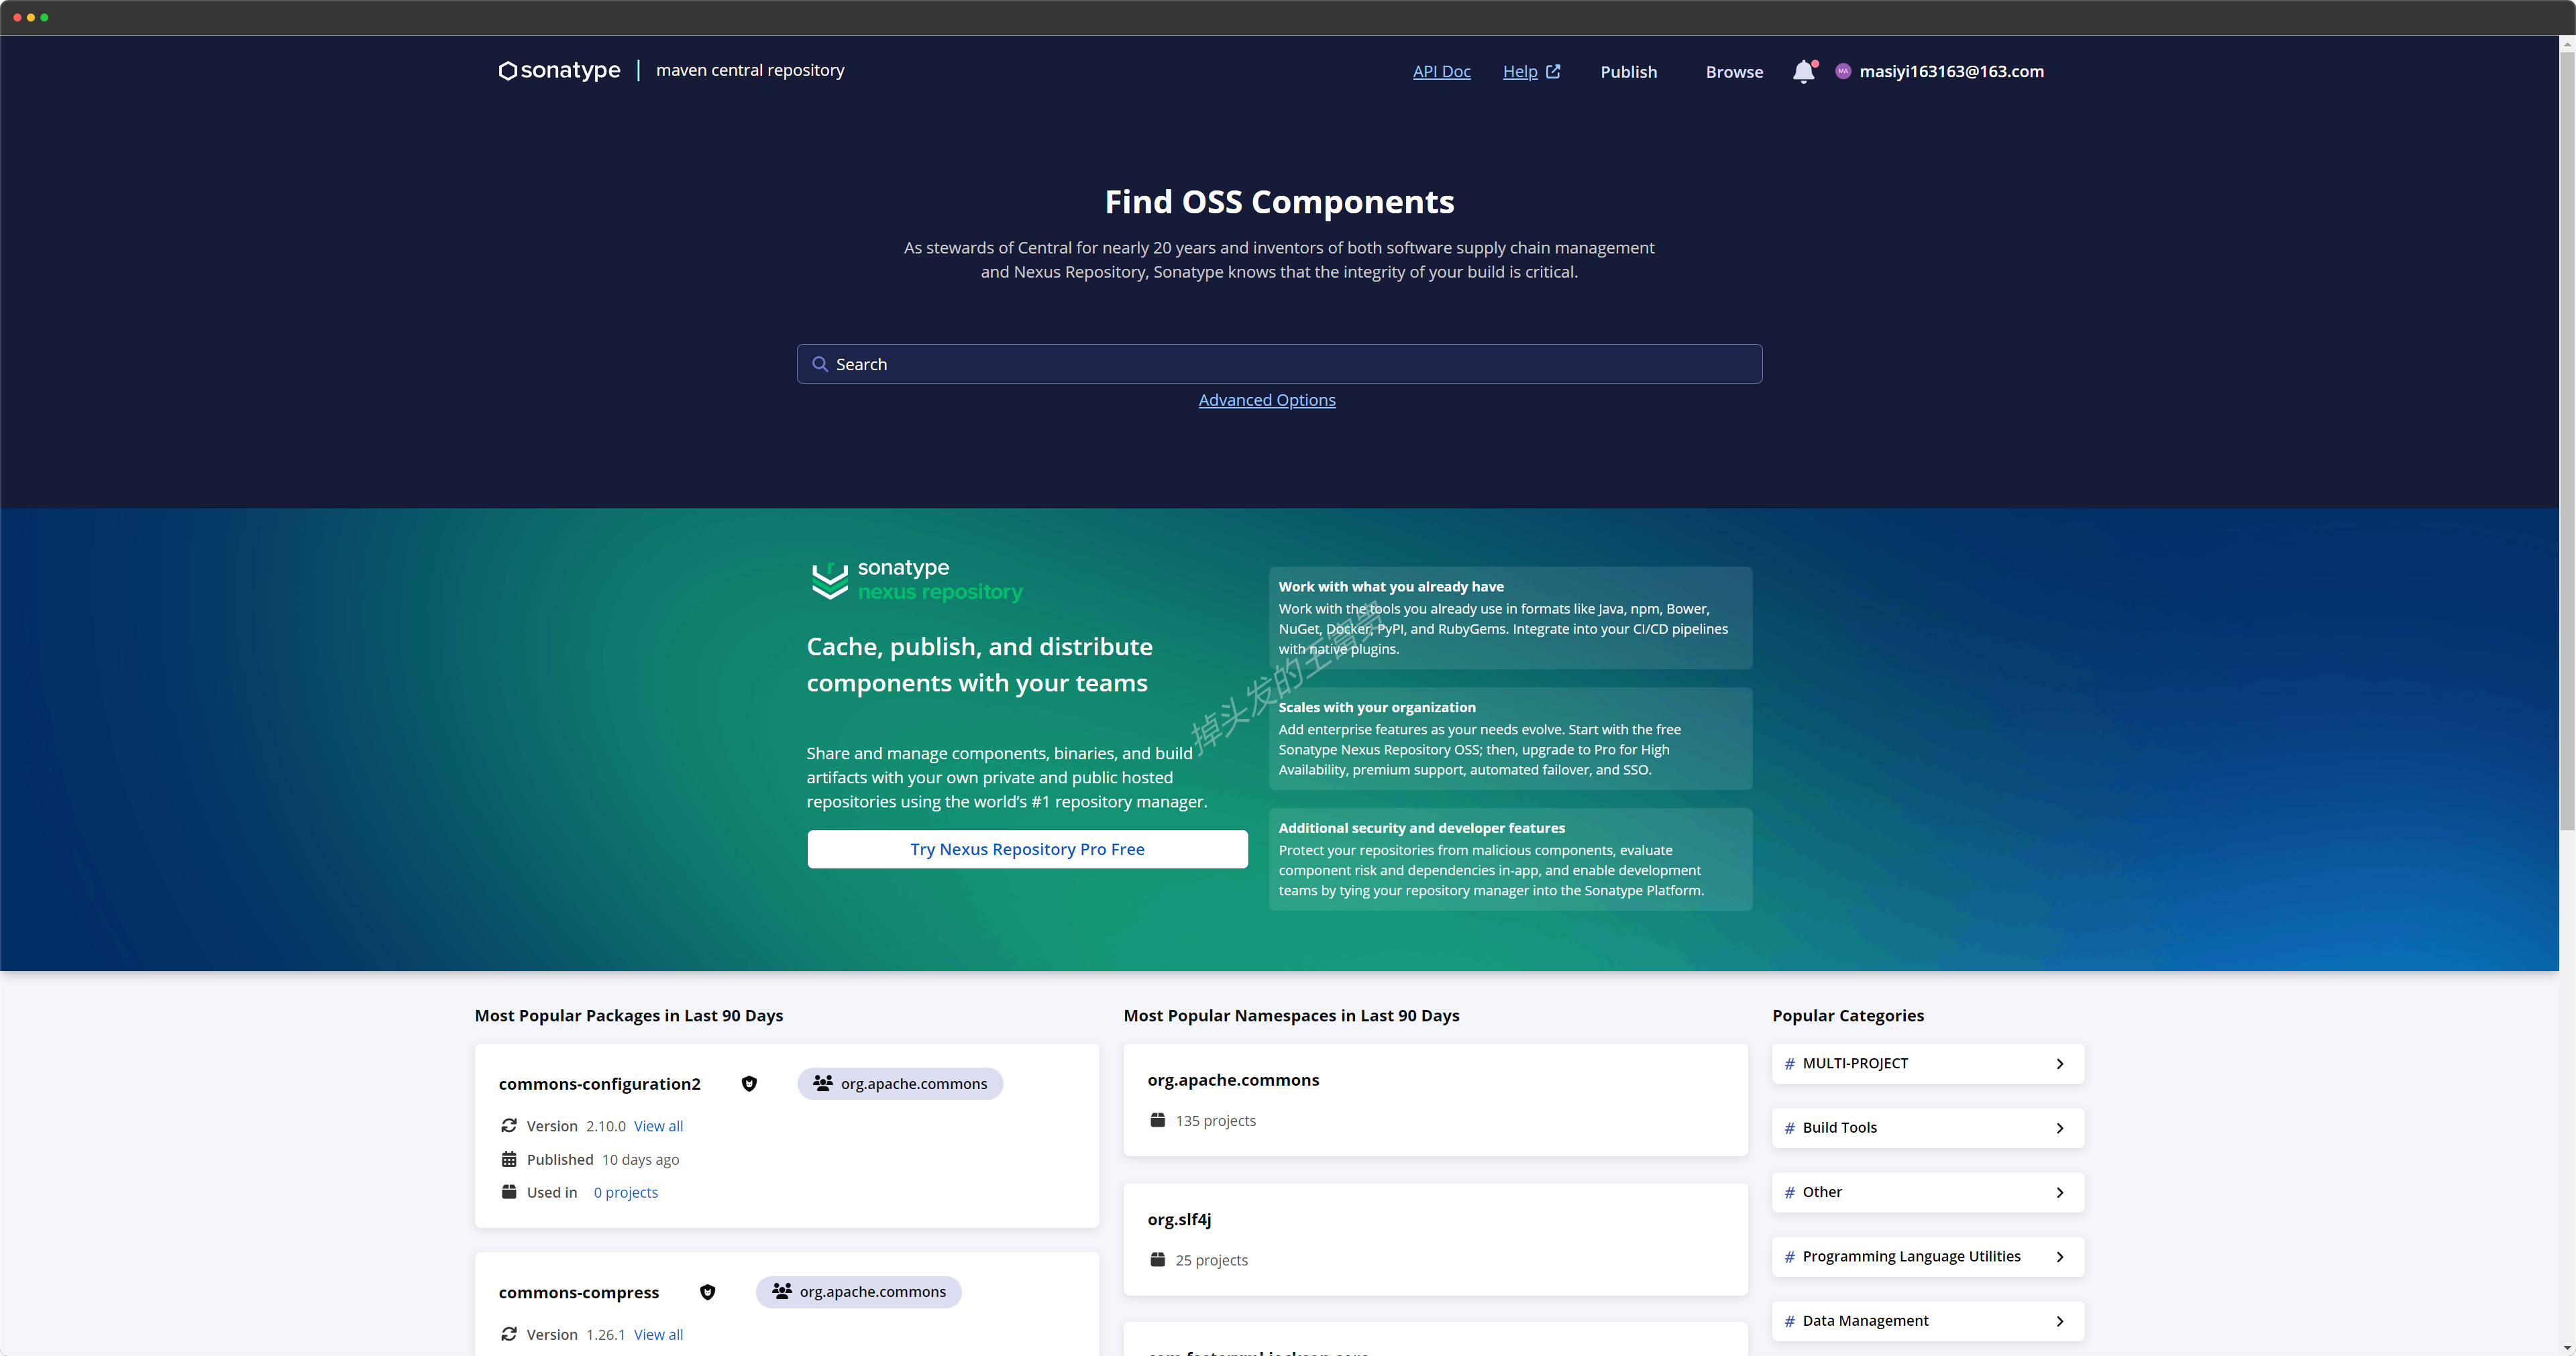
注册完了是这样的:
第二步,新建命名空间
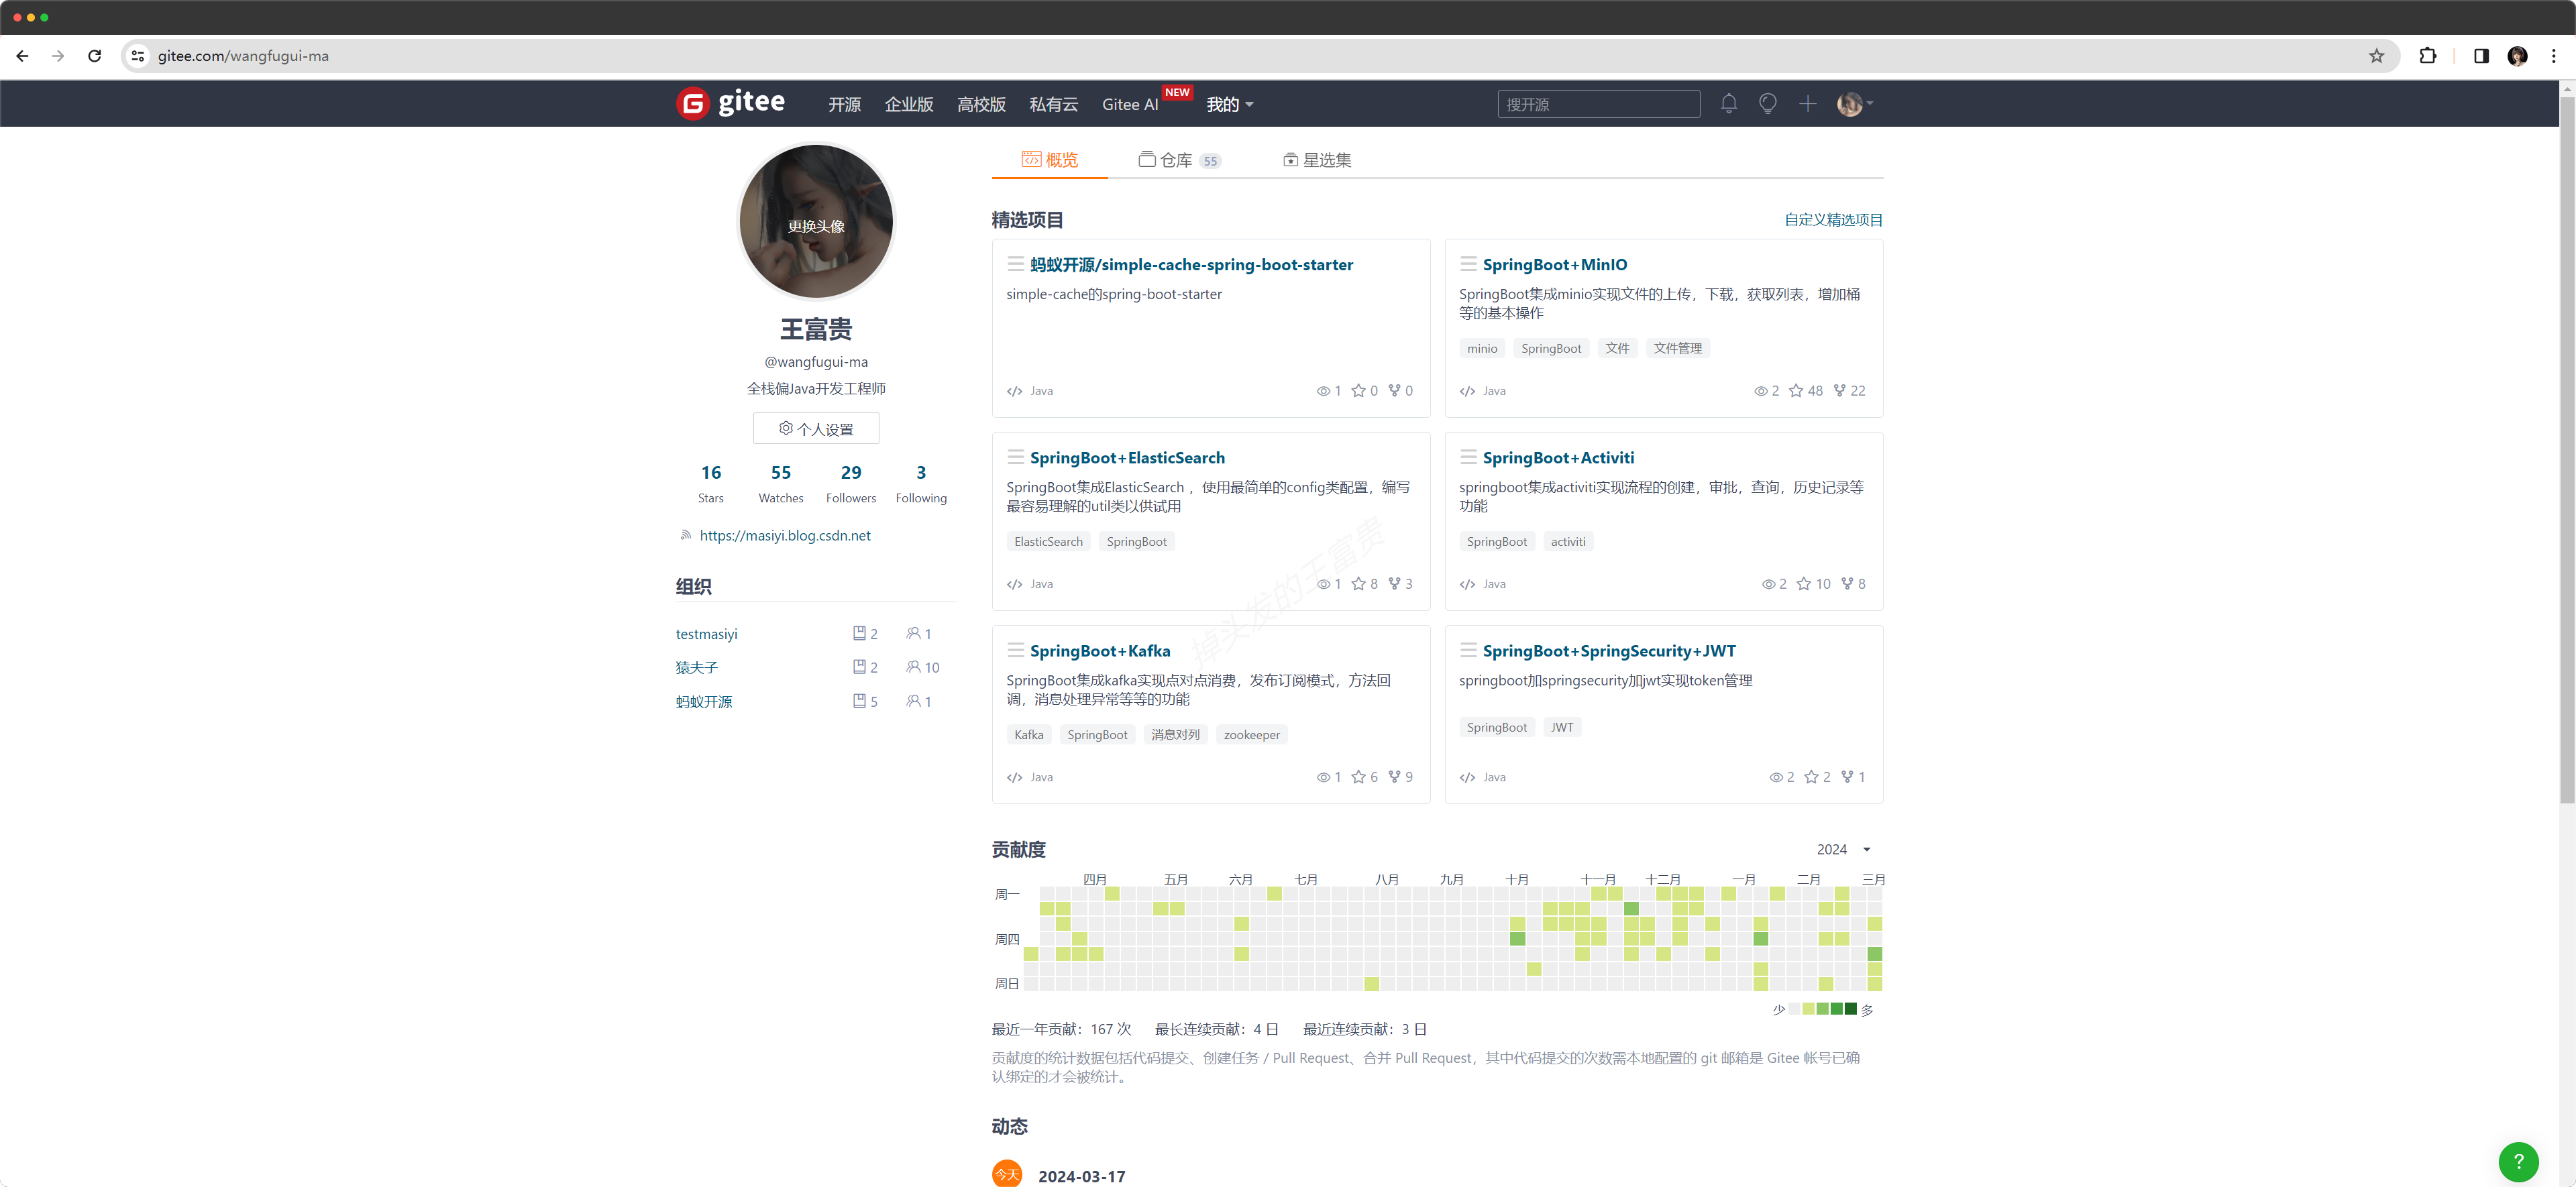
根据上面的教程点击创建命名空间,这里面可以看博主已经在之前创建了两个了。如果你的代码存在Gitee上,你就需要把命名空间设置为io.gitee.myusername。这里的myusername是你的gitee地址,例如博主的是https://gitee.com/wangfugui-ma所以我的命名空间是:io.gitee.wangfugui-ma
其他的仓库可以按照下面的要求来创建:GitHub io.github.myusername
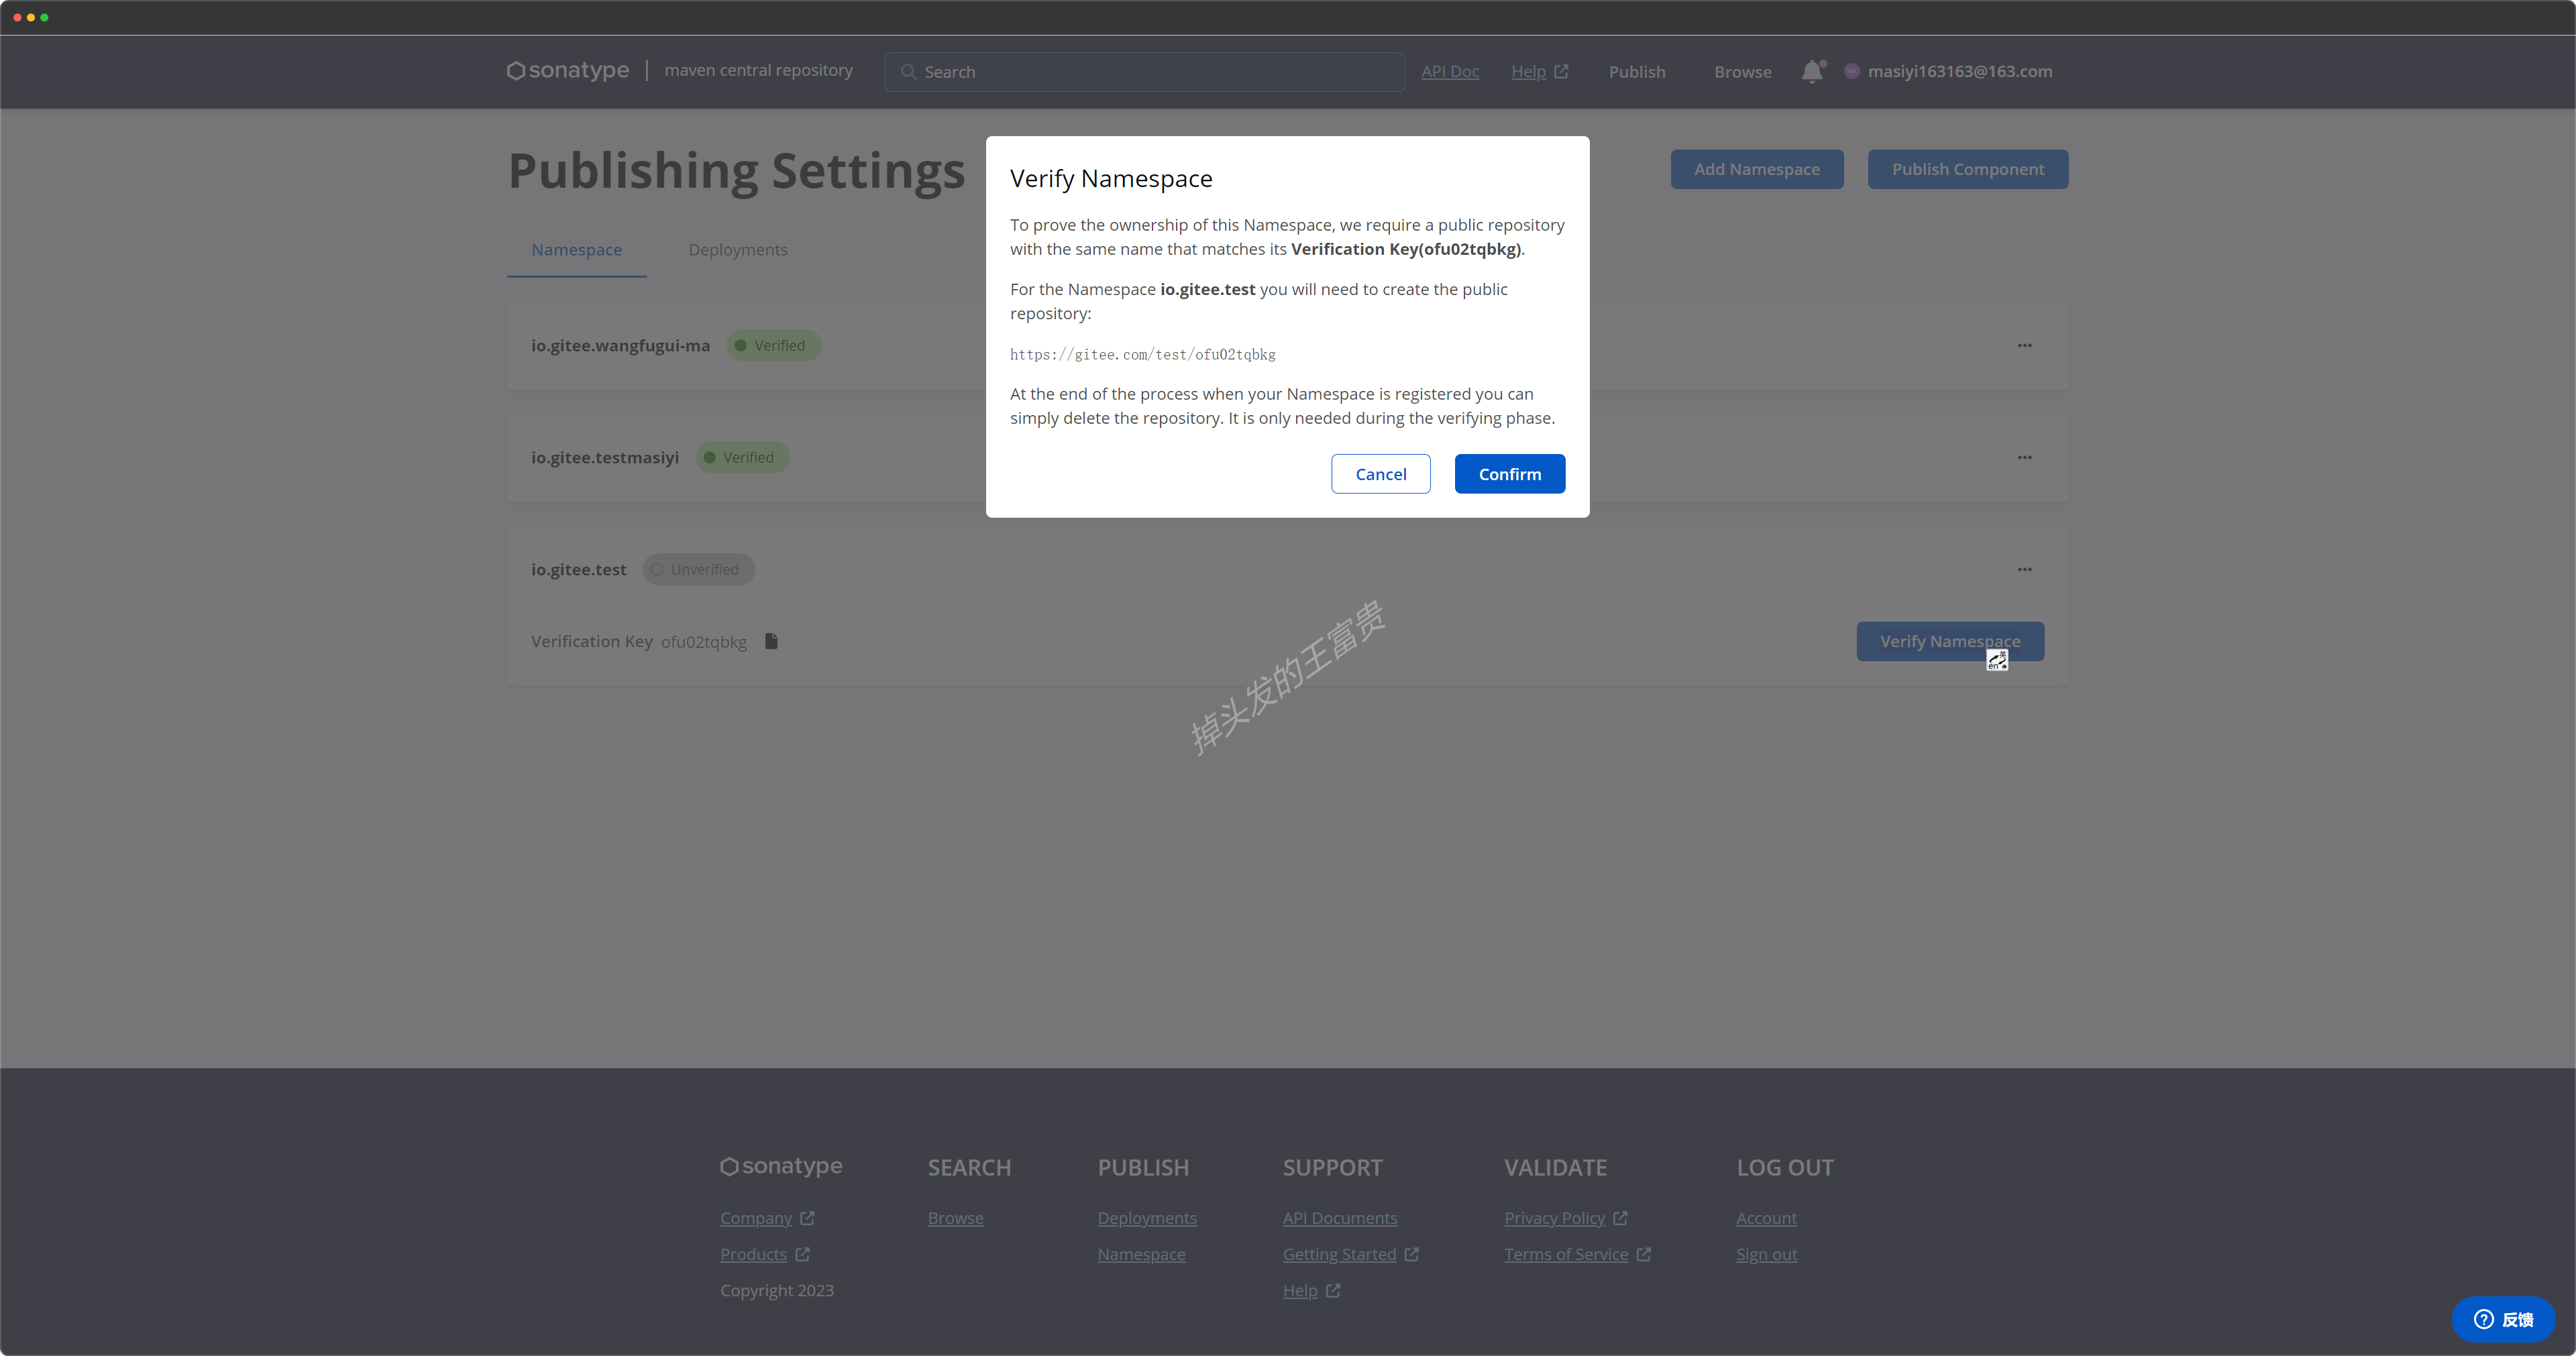
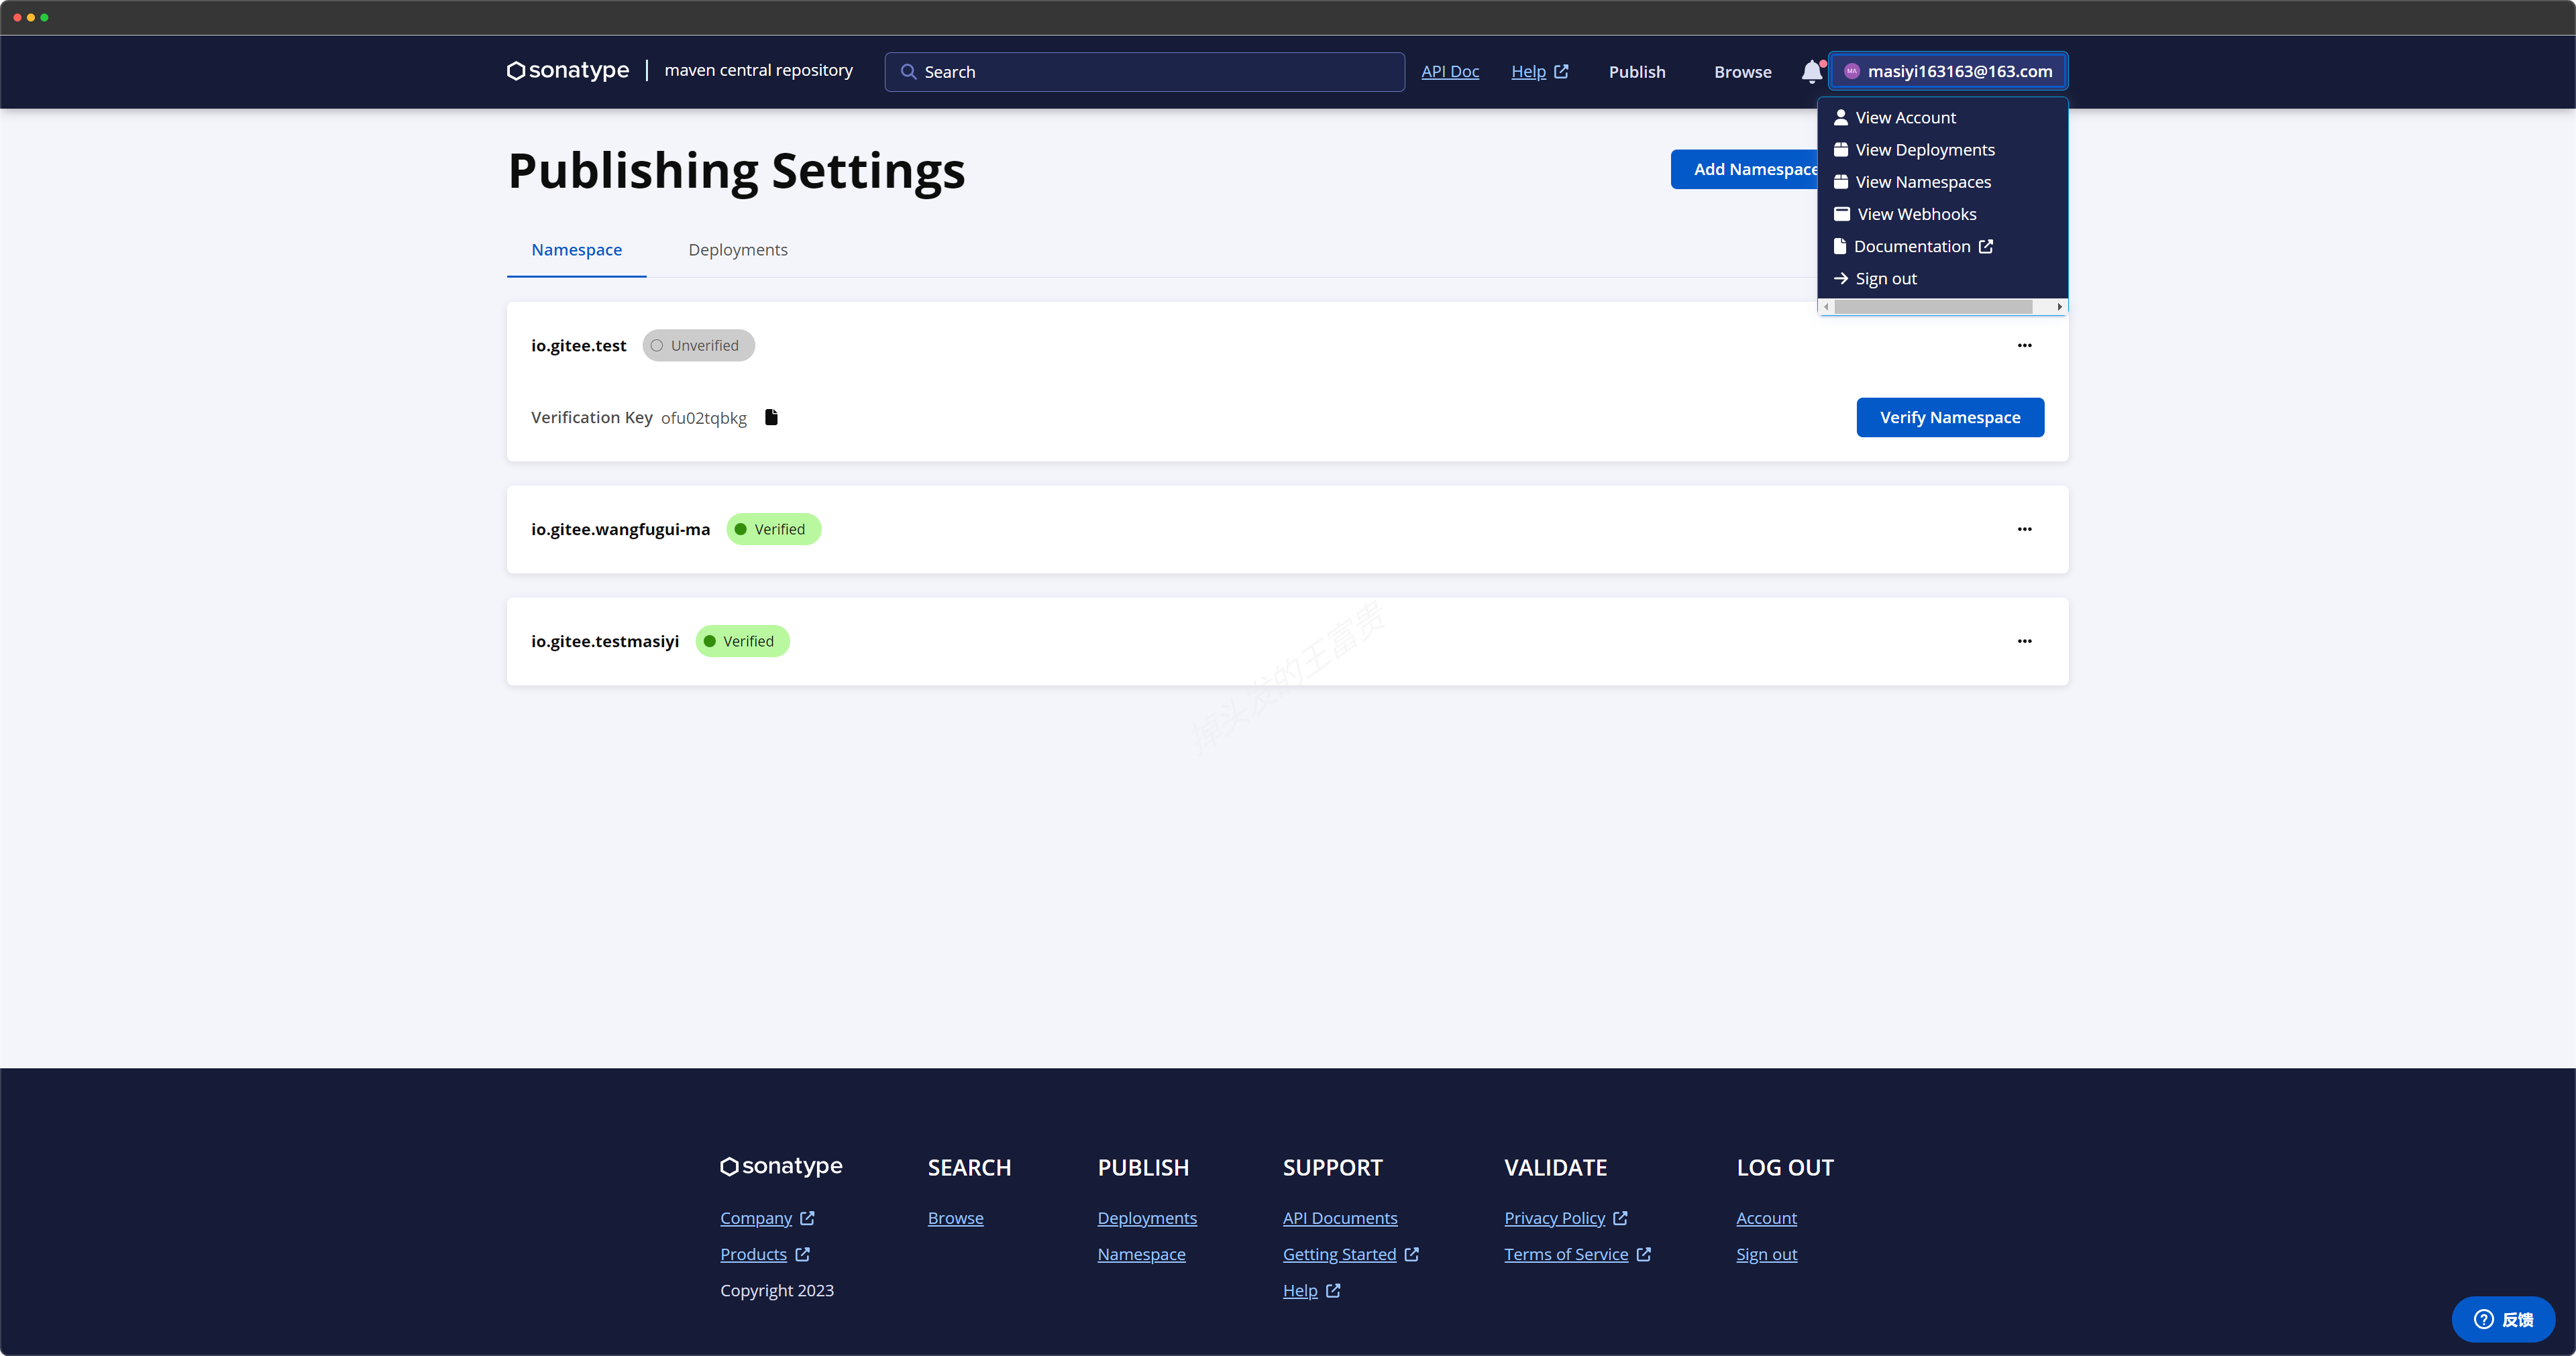
第三步,验证命名空间 创建之后需要验证命名空间来依次证明这个命名空间是你独有的,需要在对应的地址创建一个开源的仓库,名称就是你点击verify namespace的名称,例如下面这样:
点击verify namespace
创建好了之后点击confirm按钮即可进行下一步。
第四步,创建push的账号和密码 这一步抛弃了原来固定的username和password,选择了一个随机的username和password,这个username和password用来push你的jar包到中央仓库里面去,所以一定要保存好,以后都不会显示了,只有在创建成功的时候才会显示一次。
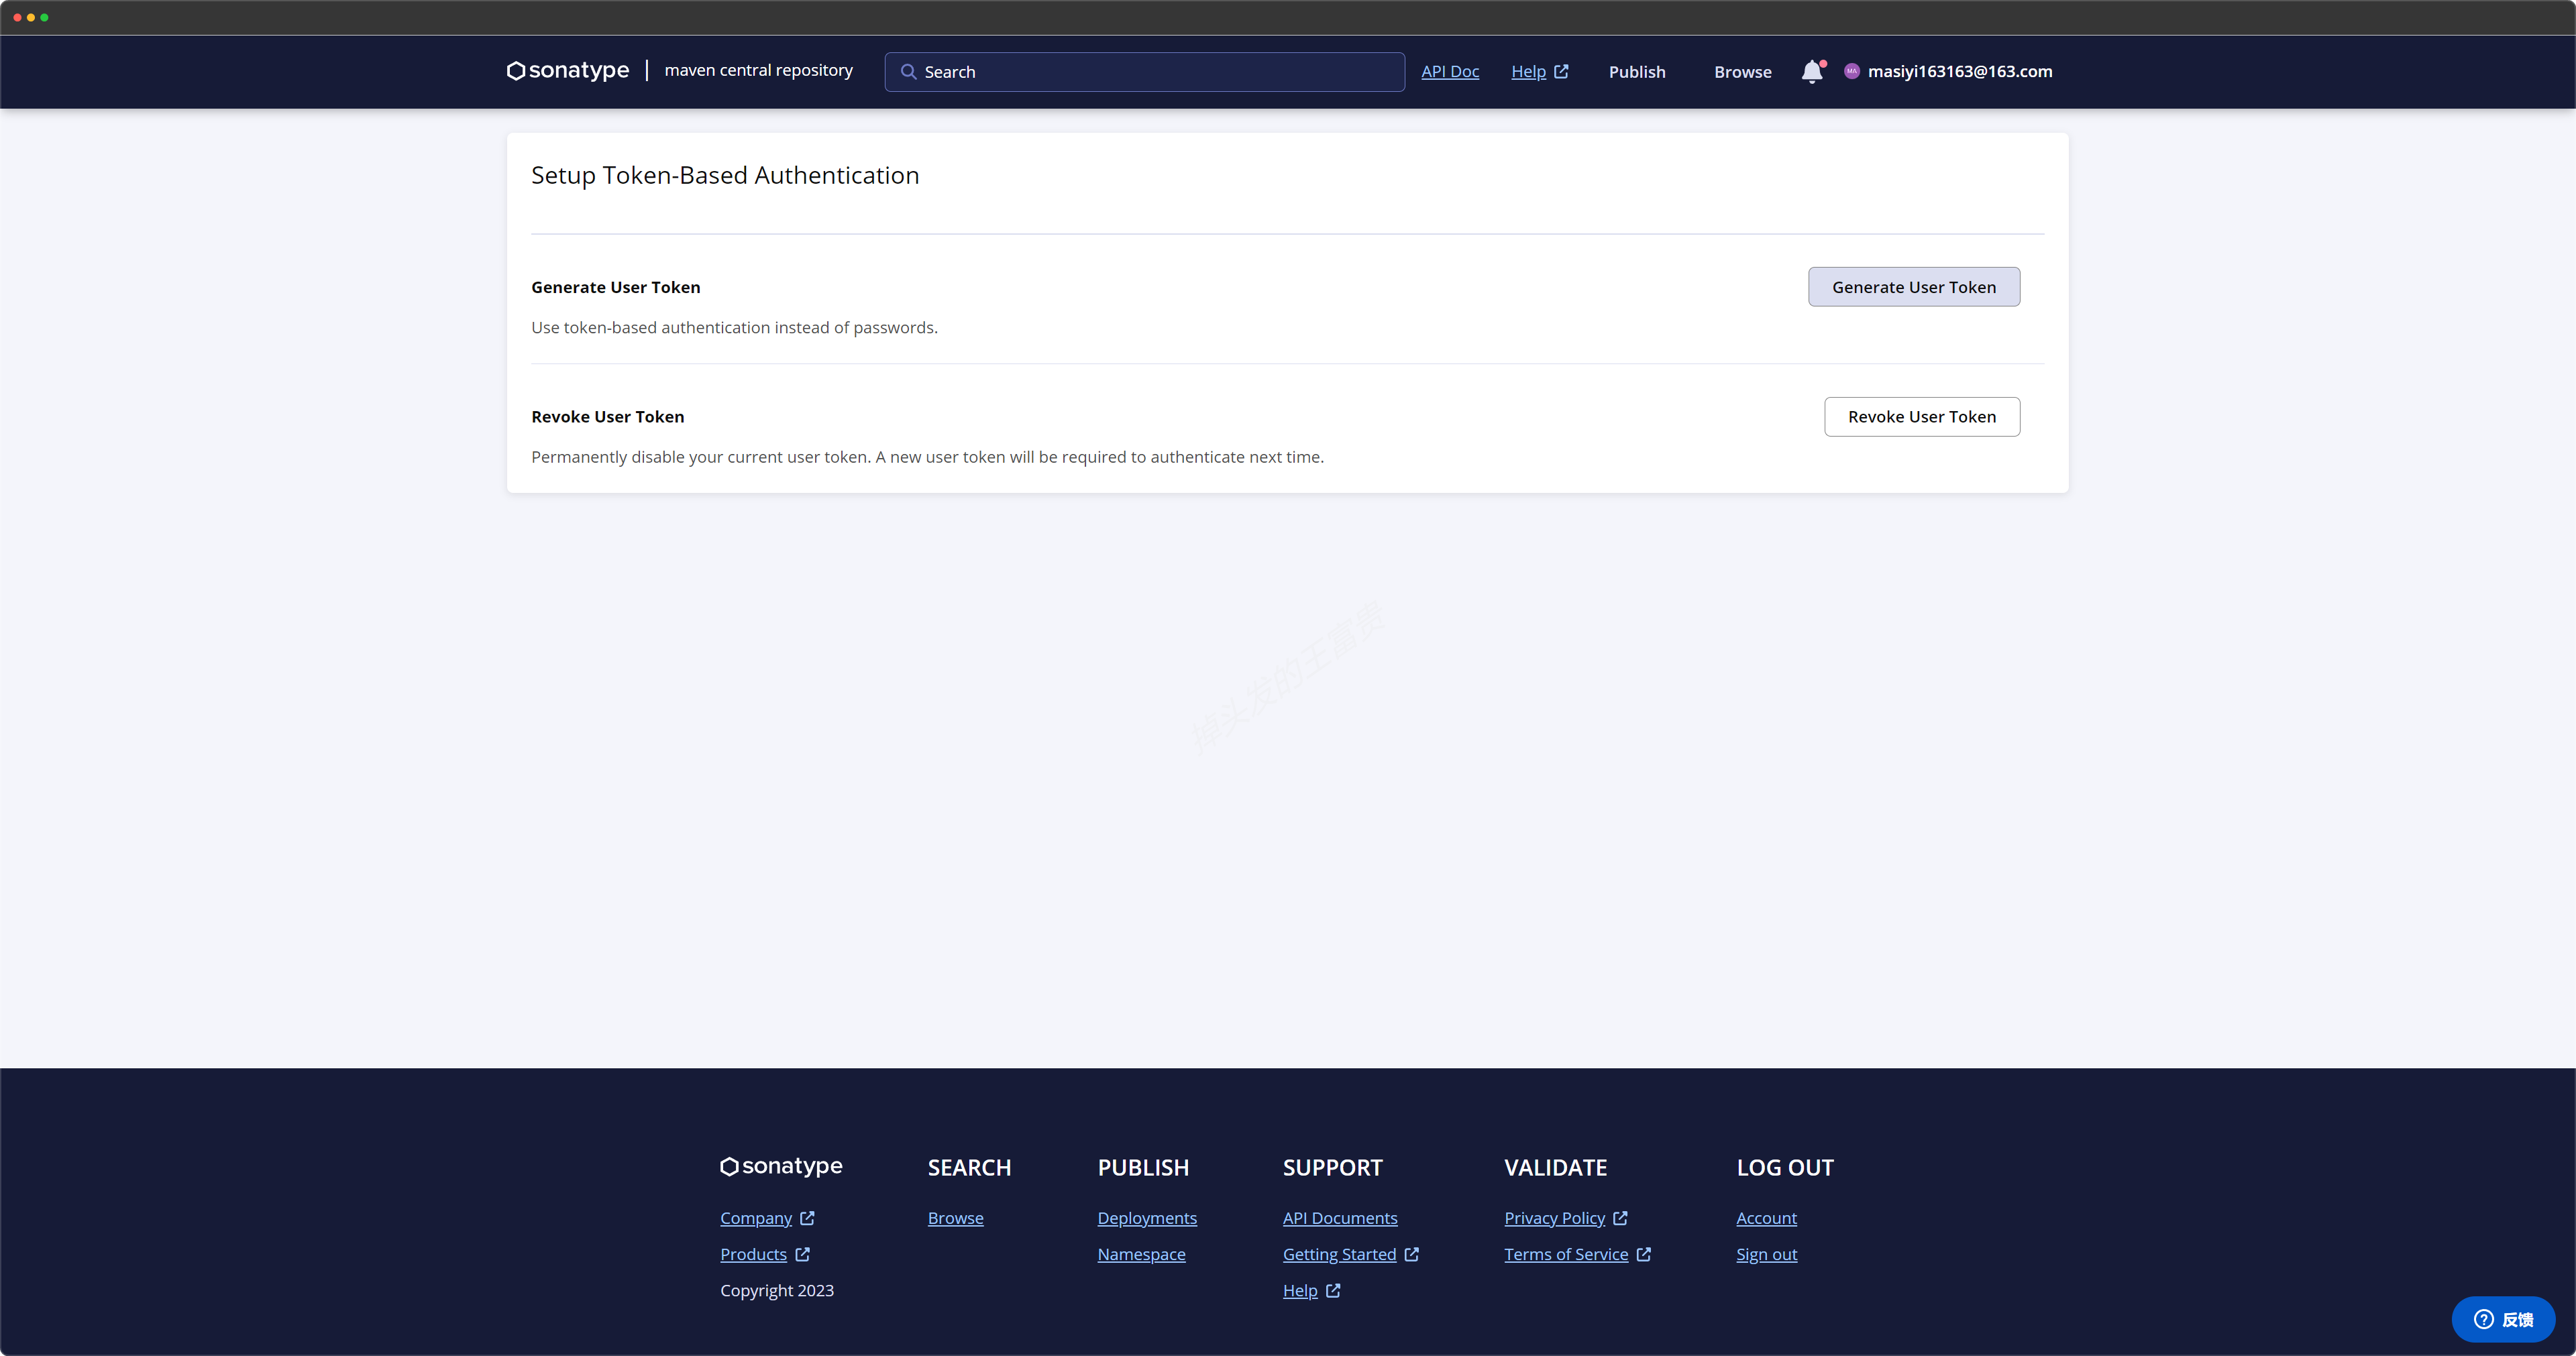
点击右上角的view account
点击Generate User Token
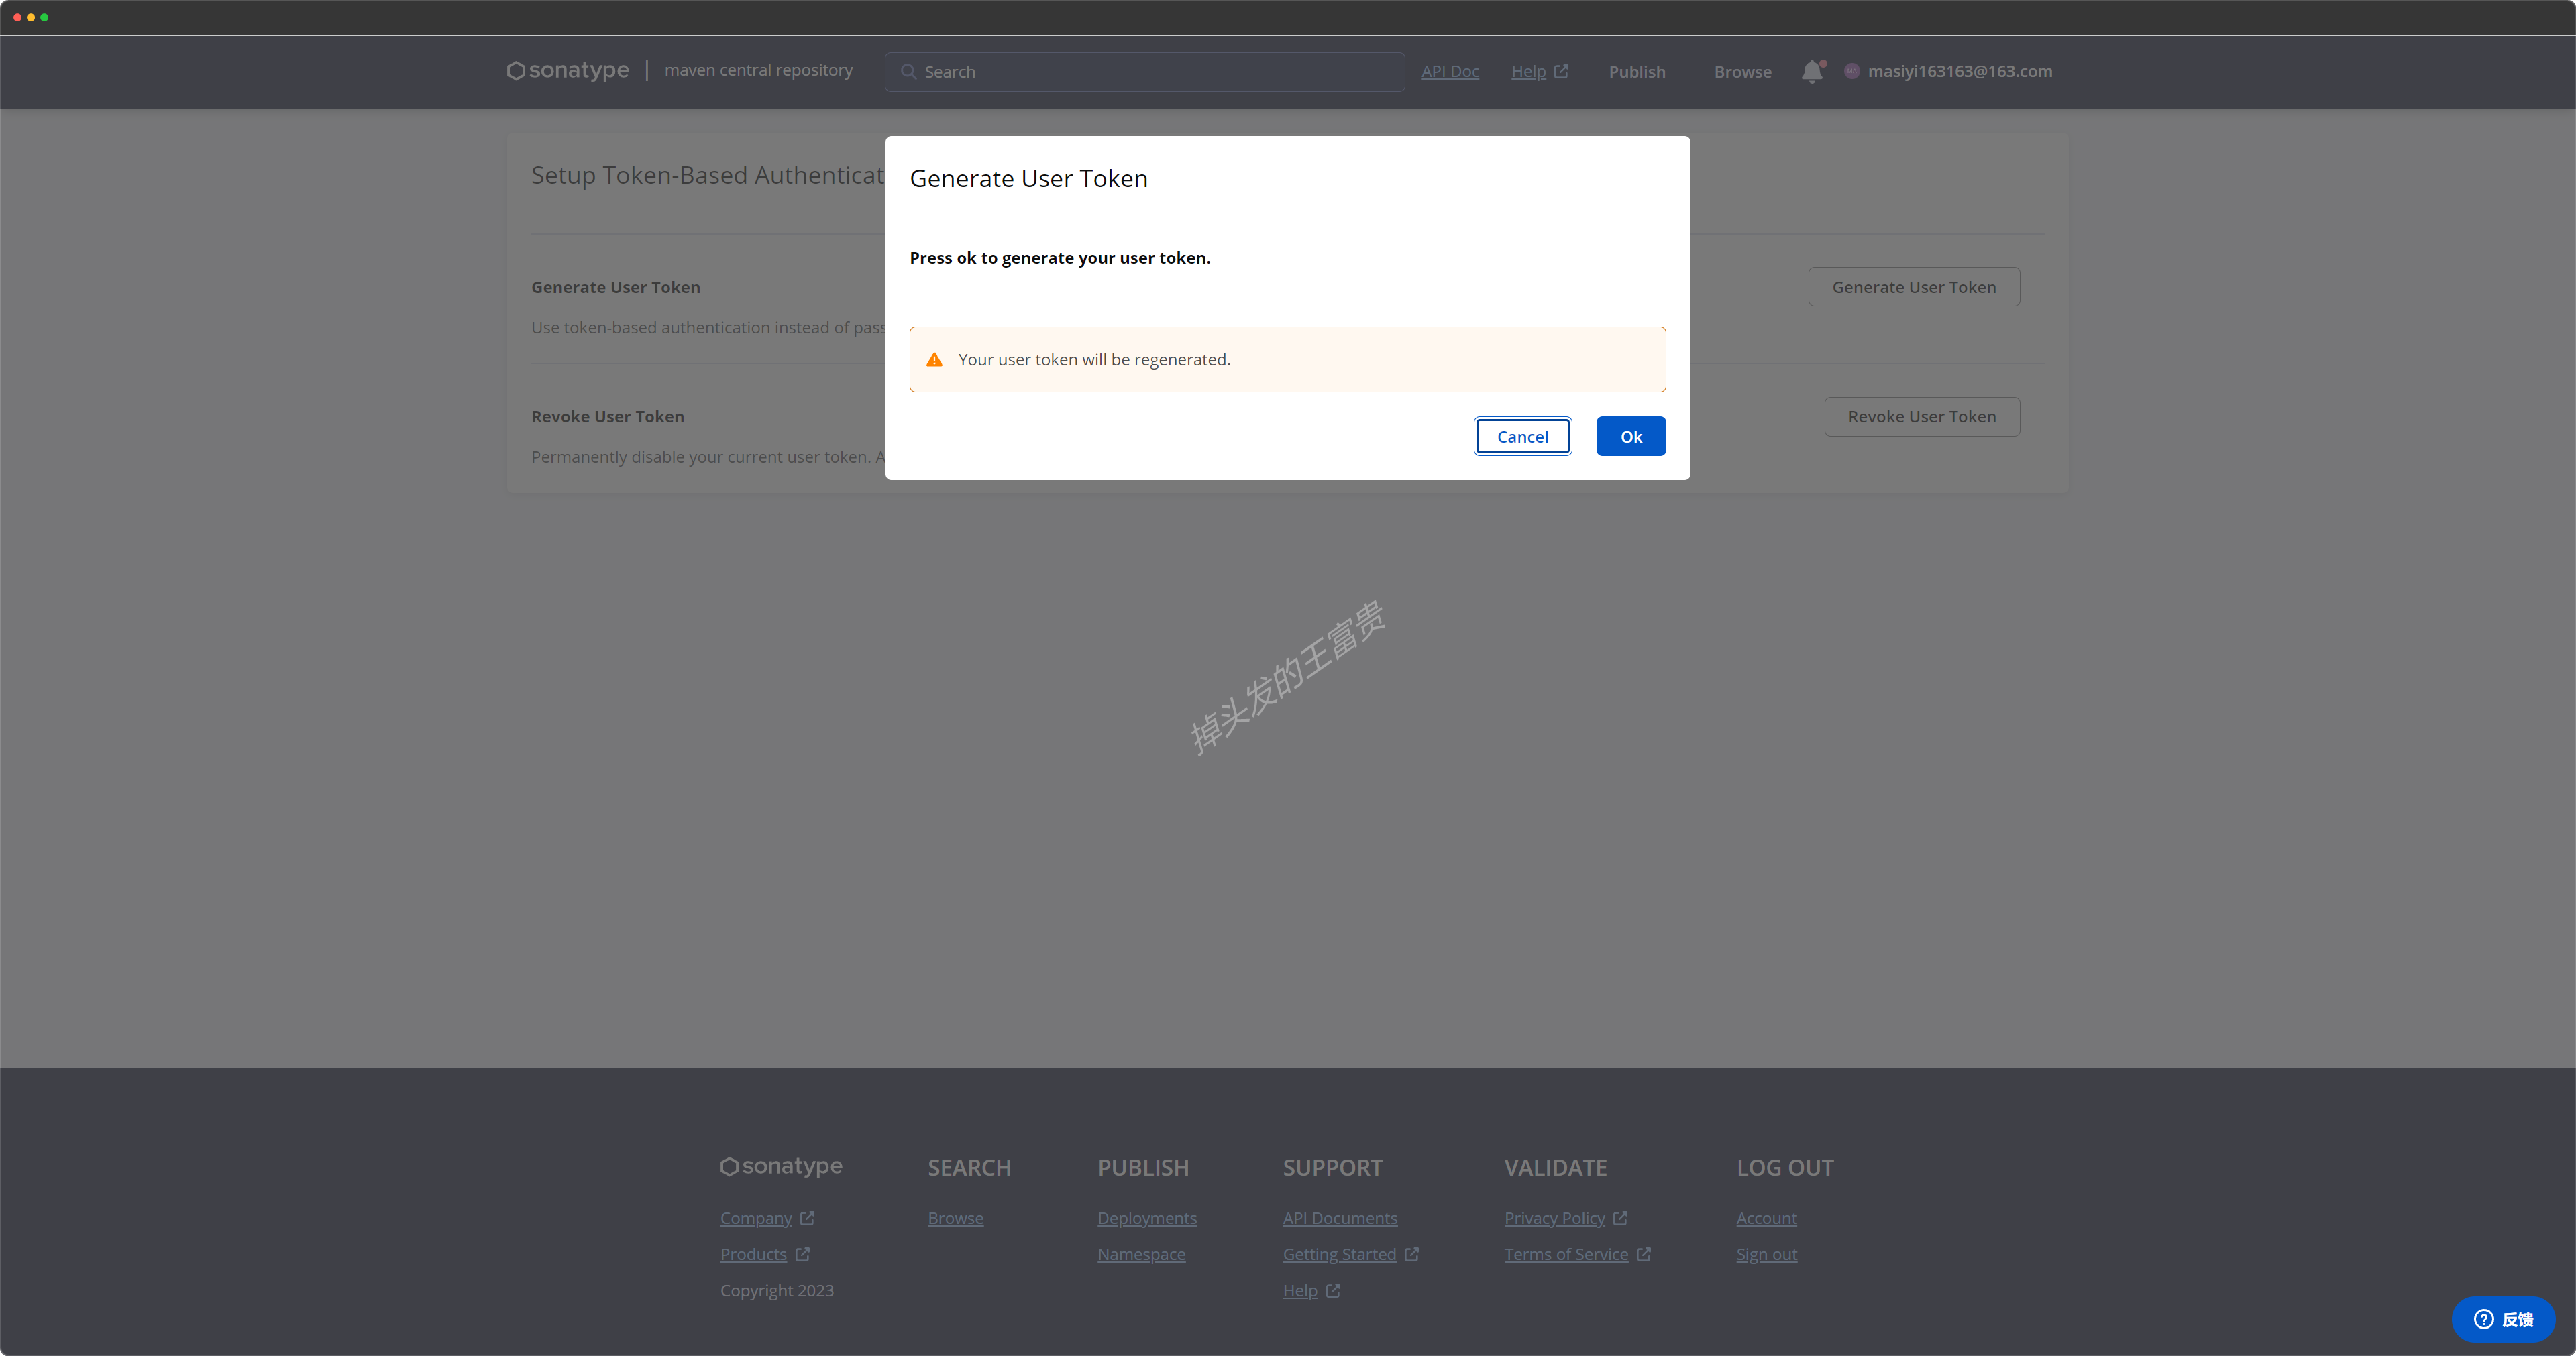
点击ok
最终会生成一个这样的数据,大家保存好
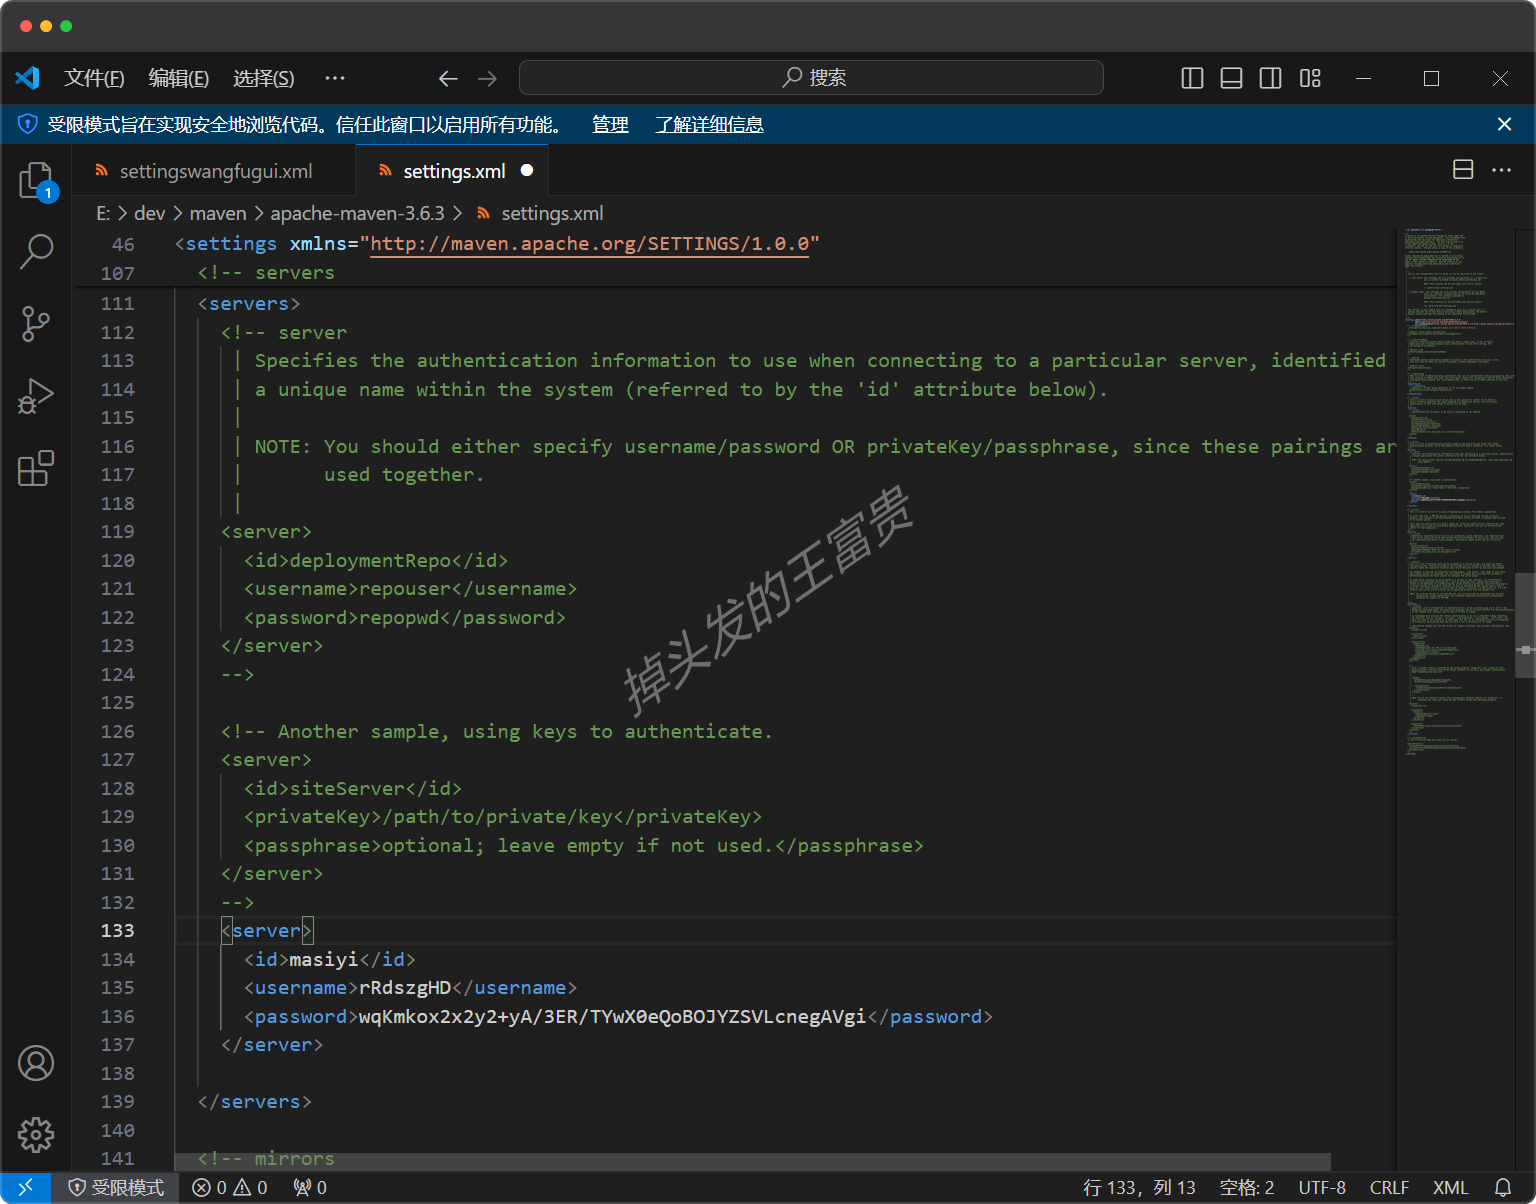
设置setting 把他粘贴到maven的setting.xml 文件里面
1 2 3 4 5 <server > <id > ${server}</id > <username > rRdszgHD</username > <password > wqKmkox2x2y2+yA/3ER/TYwX0eQoBOJYZSVLcnegAVgi</password > </server >
这个${server}可以写成你自定义的id,待会会用到,记住。
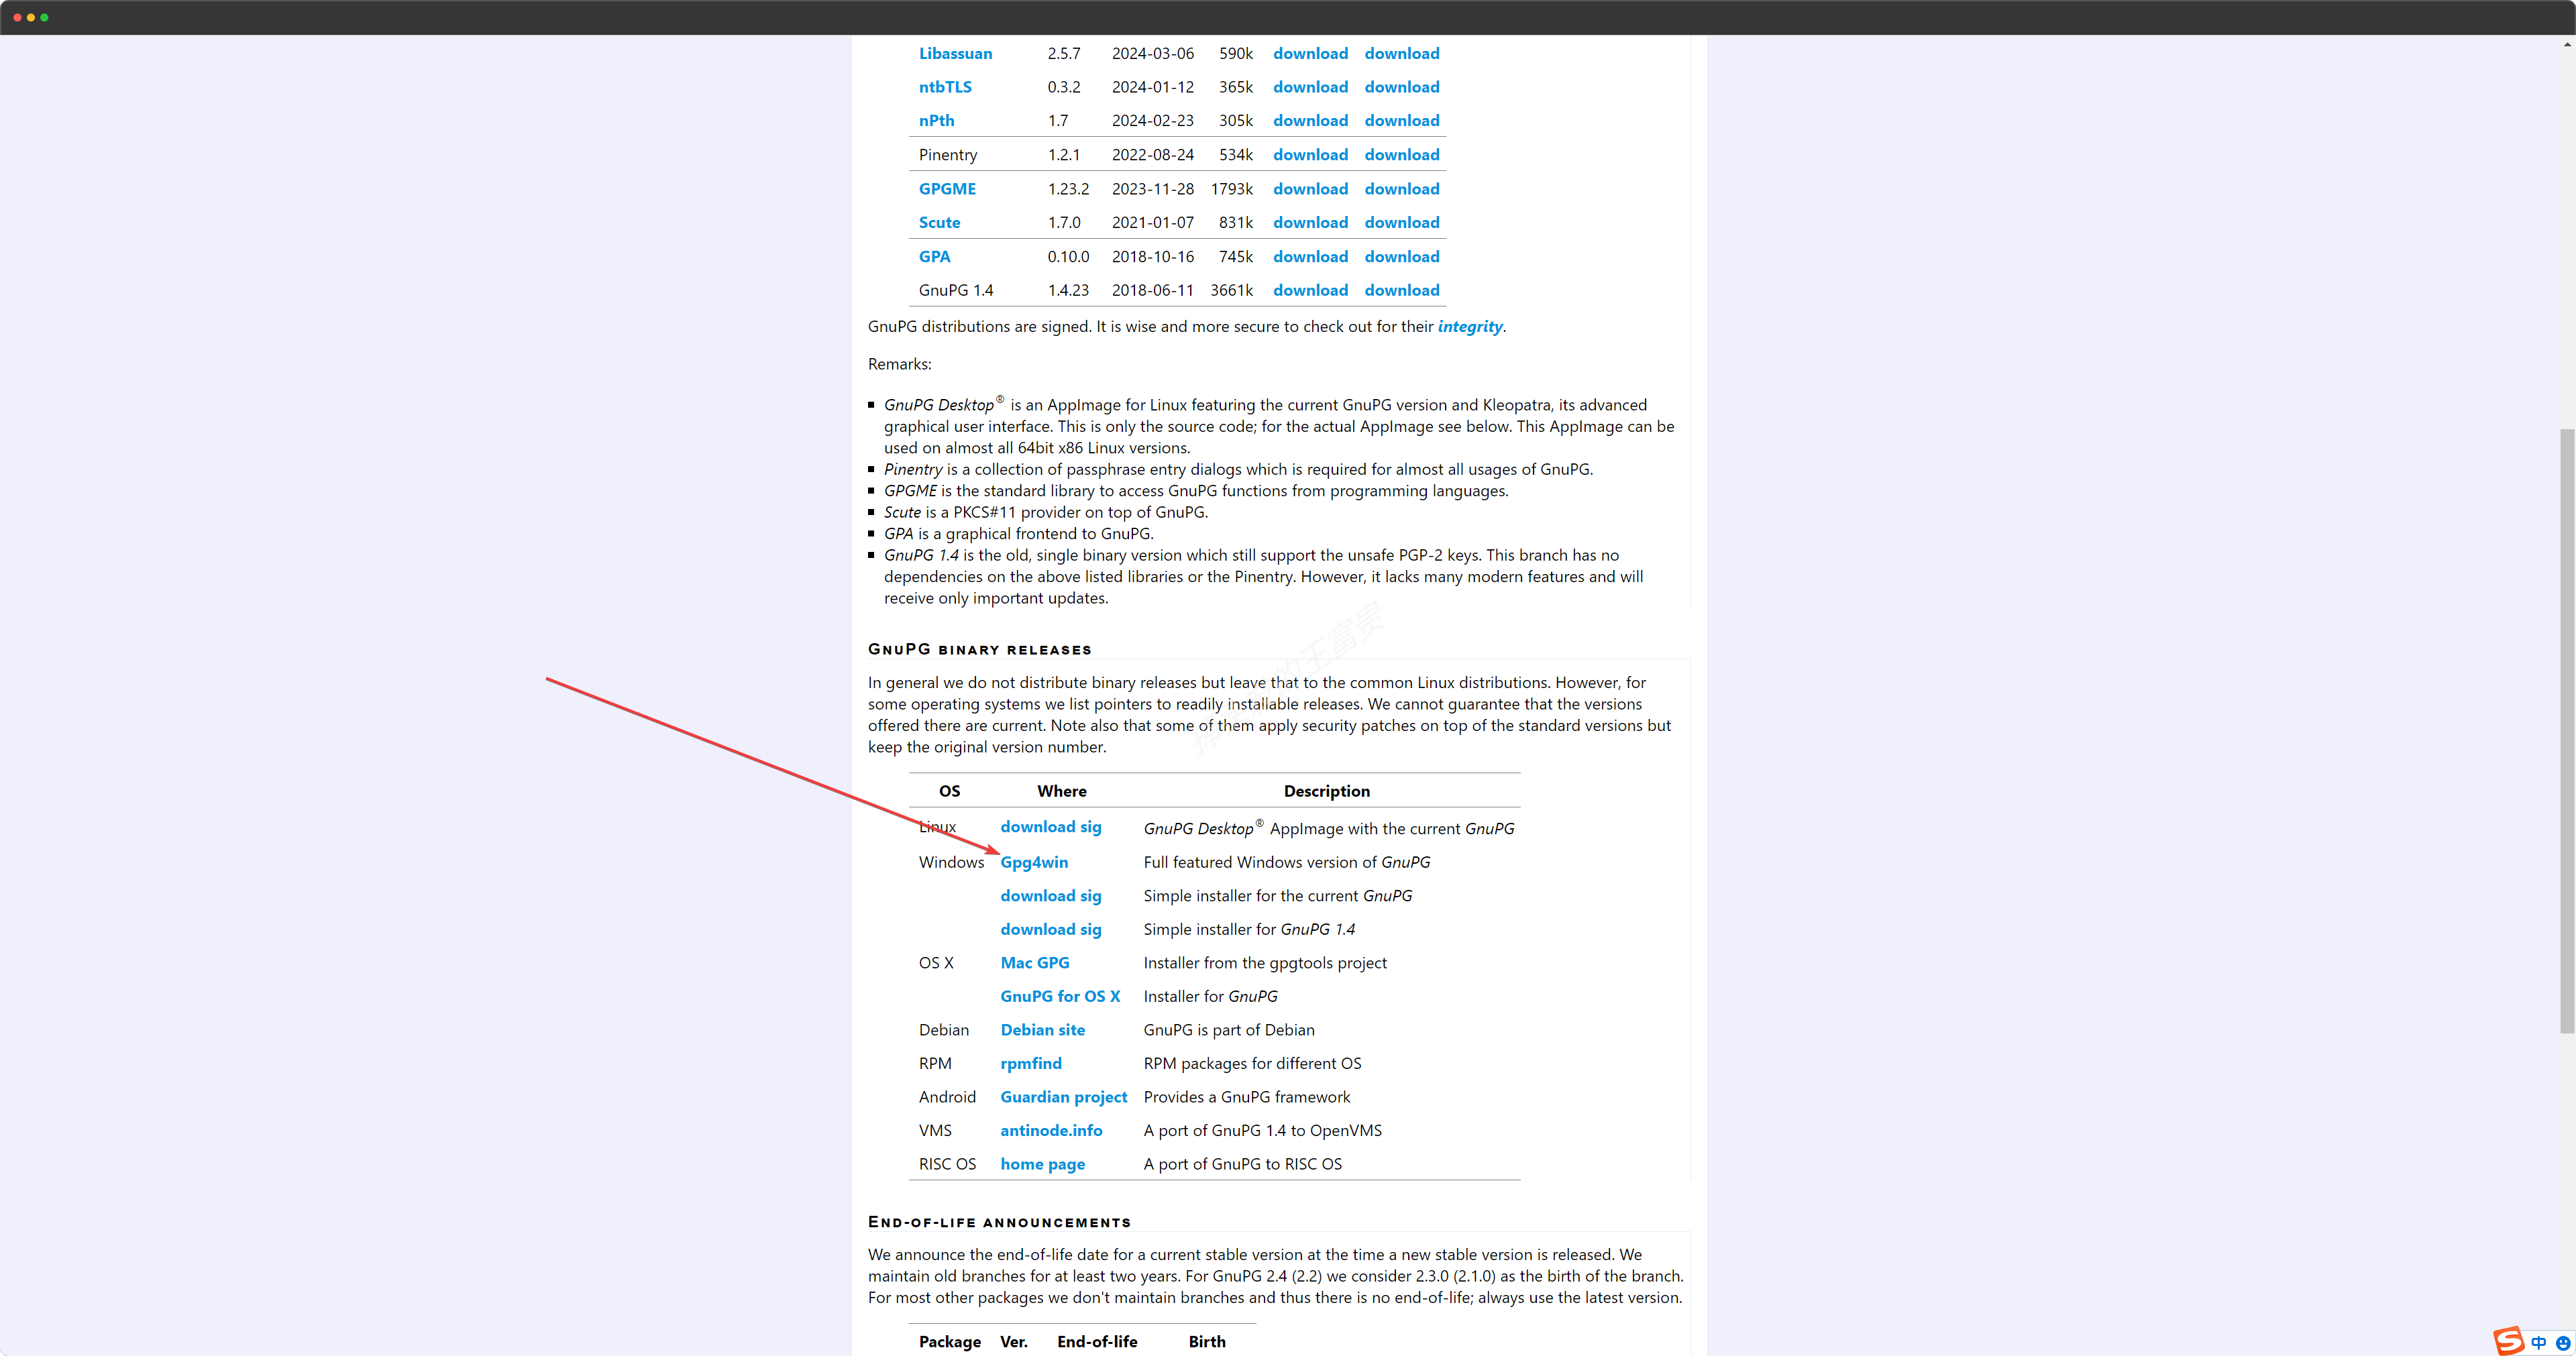
GPG准备 第一步,下载GPG GPG 用于创建asc文件用于验证你的文件的正确性和安全性,我们直接去官网下载:
https://gnupg.org/download/index.html
第二步,生成秘钥
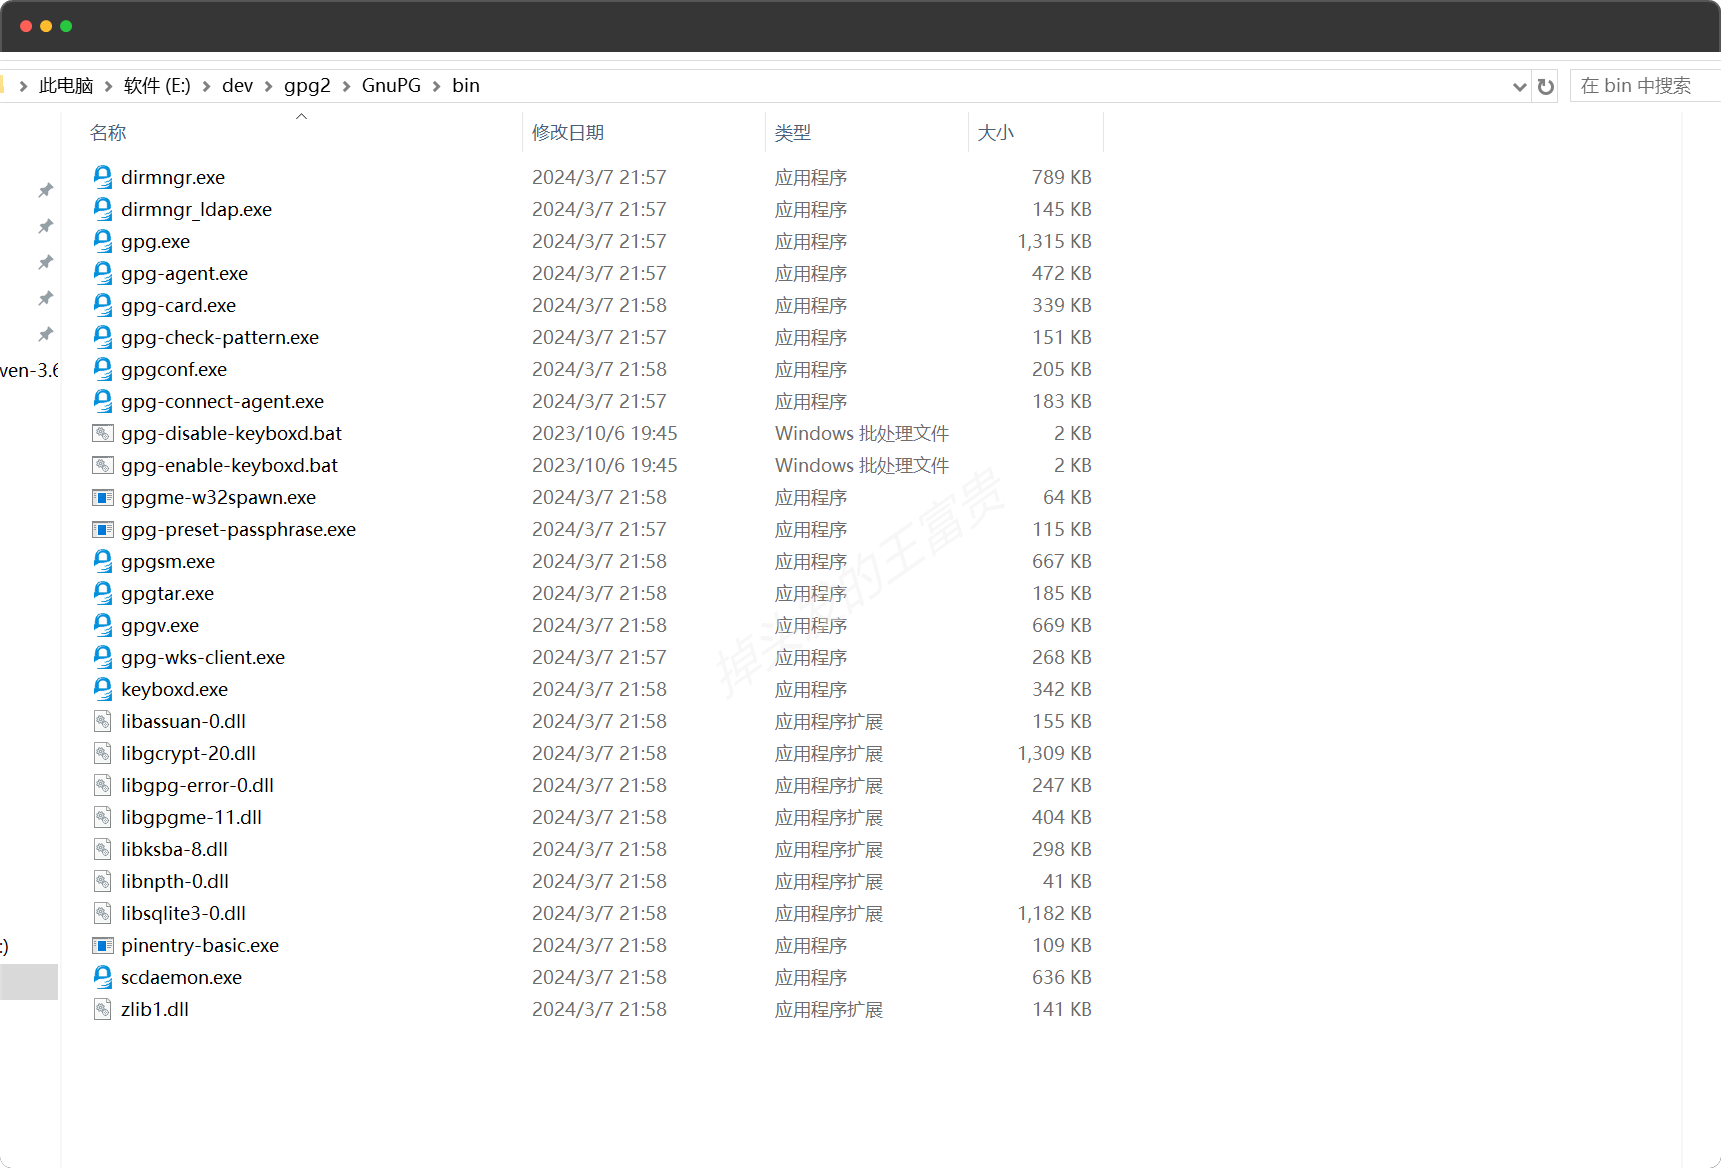
去图中的路径的bin路径下,进入cmd命令行
生成秘钥 输入gpg --gen-key
依次输入名称,邮箱地址,名称输入你命名空间的名称
1
2
3
4
5
6
7
8
9
10
11
12
13
14
15
16
17
18
19
20
21
22
23
24
25
26
27
28
29
30
31
E:\dev\gpg2\GnuPG\bin>gpg --gen-key gpg (GnuPG) 2.4.5; Copyright (C) 2024 g10 Code GmbH This is free software: you are free to change and redistribute it. There is NO WARRANTY, to the extent permitted by law. Note: Use "gpg --full-generate-key" for a full featured key generation dialog. GnuPG needs to construct a user ID to identify your key. Real name: wangfugui-ma Email address: masiyi163163@163.com You selected this USER-ID: "wangfugui-ma <masiyi163163@163.com>" Change (N)ame, (E)mail, or (O)kay/(Q)uit? o We need to generate a lot of random bytes. It is a good idea to perform some other action (type on the keyboard, move the mouse, utilize the disks) during the prime generation; this gives the random number generator a better chance to gain enough entropy. We need to generate a lot of random bytes. It is a good idea to perform some other action (type on the keyboard, move the mouse, utilize the disks) during the prime generation; this gives the random number generator a better chance to gain enough entropy. gpg: revocation certificate stored as 'C:\\Users\\admin\\AppData\\Roaming\\gnupg\\openpgp-revocs.d\\4CB3D9314CD5F1277582A11F4ADBA3851D627E38.rev' public and secret key created and signed. pub ed25519 2024-03-17 [SC] [expires: 2027-03-17] 4CB3D9314CD5F1277582A11F4ADBA3851D627E38 uid wangfugui-ma <masiyi163163@163.com> sub cv25519 2024-03-17 [E] [expires: 2027-03-17]
这里会弹出一个让你输入密钥并二次确认的窗口,记住你的密码,后面发布的时候会用。
发布秘钥 上面 4CB3D9314CD5F1277582A11F4ADBA3851D627E38 就是你的密钥id
1 gpg --keyserver keyserver.ubuntu.com --send-keys 4CB3D9314CD5F1277582A11F4ADBA3851D627E38
这里发布到keyserver.ubuntu.com服务器上,这样中央仓库也有你的密钥,所以它才能验证你的身份
As SKS Keyserver Network is being deprecated we recommend the use an specific GPG keyserver. Current GPG Keyservers supported by Central Servers are:keyserver.ubuntu.com
如果发布失败开源用上面的其他两个地址
验证秘钥 验证秘钥是否发布成功:
1 gpg --keyserver keyserver.ubuntu.com --recv-keys 4CB3D9314CD5F1277582A11F4ADBA3851D627E38
出现下面内容则说明发布成功
1
2
3
4
E:\dev\gpg2\GnuPG\bin>gpg --keyserver keyserver.ubuntu.com --recv-keys 4CB3D9314CD5F1277582A11F4ADBA3851D627E38 gpg: key 4ADBA3851D627E38: "wangfugui-ma <masiyi163163@163.com>" not changed gpg: Total number processed: 1 gpg: unchanged: 1
发布jar包 第一步,编辑pom文件 在你的项目pom文件中加入以下的内容:
1 2 3 4 5 6 7 8 9 10 11 12 13 14 15 16 17 18 19 20 21 22 23 24 25 26 27 28 29 30 31 32 33 34 35 36 37 38 39 40 41 42 43 44 45 46 47 48 49 50 51 52 53 54 55 56 57 58 59 60 61 62 63 64 65 66 67 68 69 70 71 72 73 74 75 76 77 78 79 80 81 82 83 84 85 86 87 88 89 90 91 92 93 94 95 96 97 98 99 100 101 102 103 104 105 106 107 108 109 110 111 112 113 114 115 116 117 118 119 120 121 122 123 124 125 126 127 128 129 130 131 132 133 <project xmlns ="http://maven.apache.org/POM/4.0.0" xmlns:xsi ="http://www.w3.org/2001/XMLSchema-instance" xsi:schemaLocation ="http://maven.apache.org/POM/4.0.0 http://maven.apache.org/xsd/maven-4.0.0.xsd" > <modelVersion > 4.0.0</modelVersion > <groupId > io.gitee.wangfugui-ma</groupId > <artifactId > aliyun-oss-spring-boot-starter</artifactId > <version > 0.0.1</version > <name > aliyun-oss-spring-boot-starter</name > <description > aliyun-oss-spring-boot-starter</description > <url > https://gitee.com/wangfugui-ma/aliyun-oss-spring-boot-starter</url > <licenses > <license > <name > The Apache Software License, Version 2.0</name > <url > http://www.apache.org/licenses/LICENSE-2.0.txt</url > </license > </licenses > <developers > <developer > <id > masiyi</id > <name > masiyi</name > <email > masiyi163163@163.com</email > <roles > <role > Project Manager</role > <role > Architect</role > </roles > </developer > </developers > <scm > <connection > https://gitee.com/wangfugui-ma/aliyun-oss-spring-boot-starter.git</connection > <developerConnection > scm:git:ssh://git@gitee.com:wangfugui-ma/aliyun-oss-spring-boot-starter.git </developerConnection > <url > https://gitee.com/wangfugui-ma/aliyun-oss-spring-boot-starter</url > </scm > <properties > <project.build.sourceEncoding > UTF-8</project.build.sourceEncoding > </properties > <dependencies > <dependency > <groupId > org.springframework.boot</groupId > <artifactId > spring-boot-autoconfigure</artifactId > <version > 2.2.9.RELEASE</version > </dependency > <dependency > <groupId > org.slf4j</groupId > <artifactId > slf4j-api</artifactId > <version > 2.0.4</version > </dependency > <dependency > <groupId > com.aliyun.oss</groupId > <artifactId > aliyun-sdk-oss</artifactId > <version > 3.17.2</version > </dependency > <dependency > <groupId > org.projectlombok</groupId > <artifactId > lombok</artifactId > <version > 1.18.30</version > <scope > provided</scope > </dependency > </dependencies > <build > <plugins > <plugin > <groupId > org.sonatype.central</groupId > <artifactId > central-publishing-maven-plugin</artifactId > <version > 0.4.0</version > <extensions > true</extensions > <configuration > <publishingServerId > masiyi</publishingServerId > <tokenAuth > true</tokenAuth > </configuration > </plugin > <plugin > <groupId > org.apache.maven.plugins</groupId > <artifactId > maven-source-plugin</artifactId > <version > 2.2.1</version > <executions > <execution > <id > attach-sources</id > <goals > <goal > jar-no-fork</goal > </goals > </execution > </executions > </plugin > <plugin > <groupId > org.apache.maven.plugins</groupId > <artifactId > maven-javadoc-plugin</artifactId > <version > 2.9.1</version > <executions > <execution > <id > attach-javadocs</id > <goals > <goal > jar</goal > </goals > </execution > </executions > </plugin > <plugin > <groupId > org.apache.maven.plugins</groupId > <artifactId > maven-gpg-plugin</artifactId > <version > 1.5</version > <configuration > <executable > E:\dev\gpg2\GnuPG\bin\gpg.exe</executable > <keyname > wangfugui-ma</keyname > </configuration > <executions > <execution > <id > sign-artifacts</id > <phase > verify</phase > <goals > <goal > sign</goal > </goals > </execution > </executions > </plugin > </plugins > </build > </project >
除了dependencies里面的内容是根据你的项目里面的实际情况写,其他的都必须写,否则会上传失败。
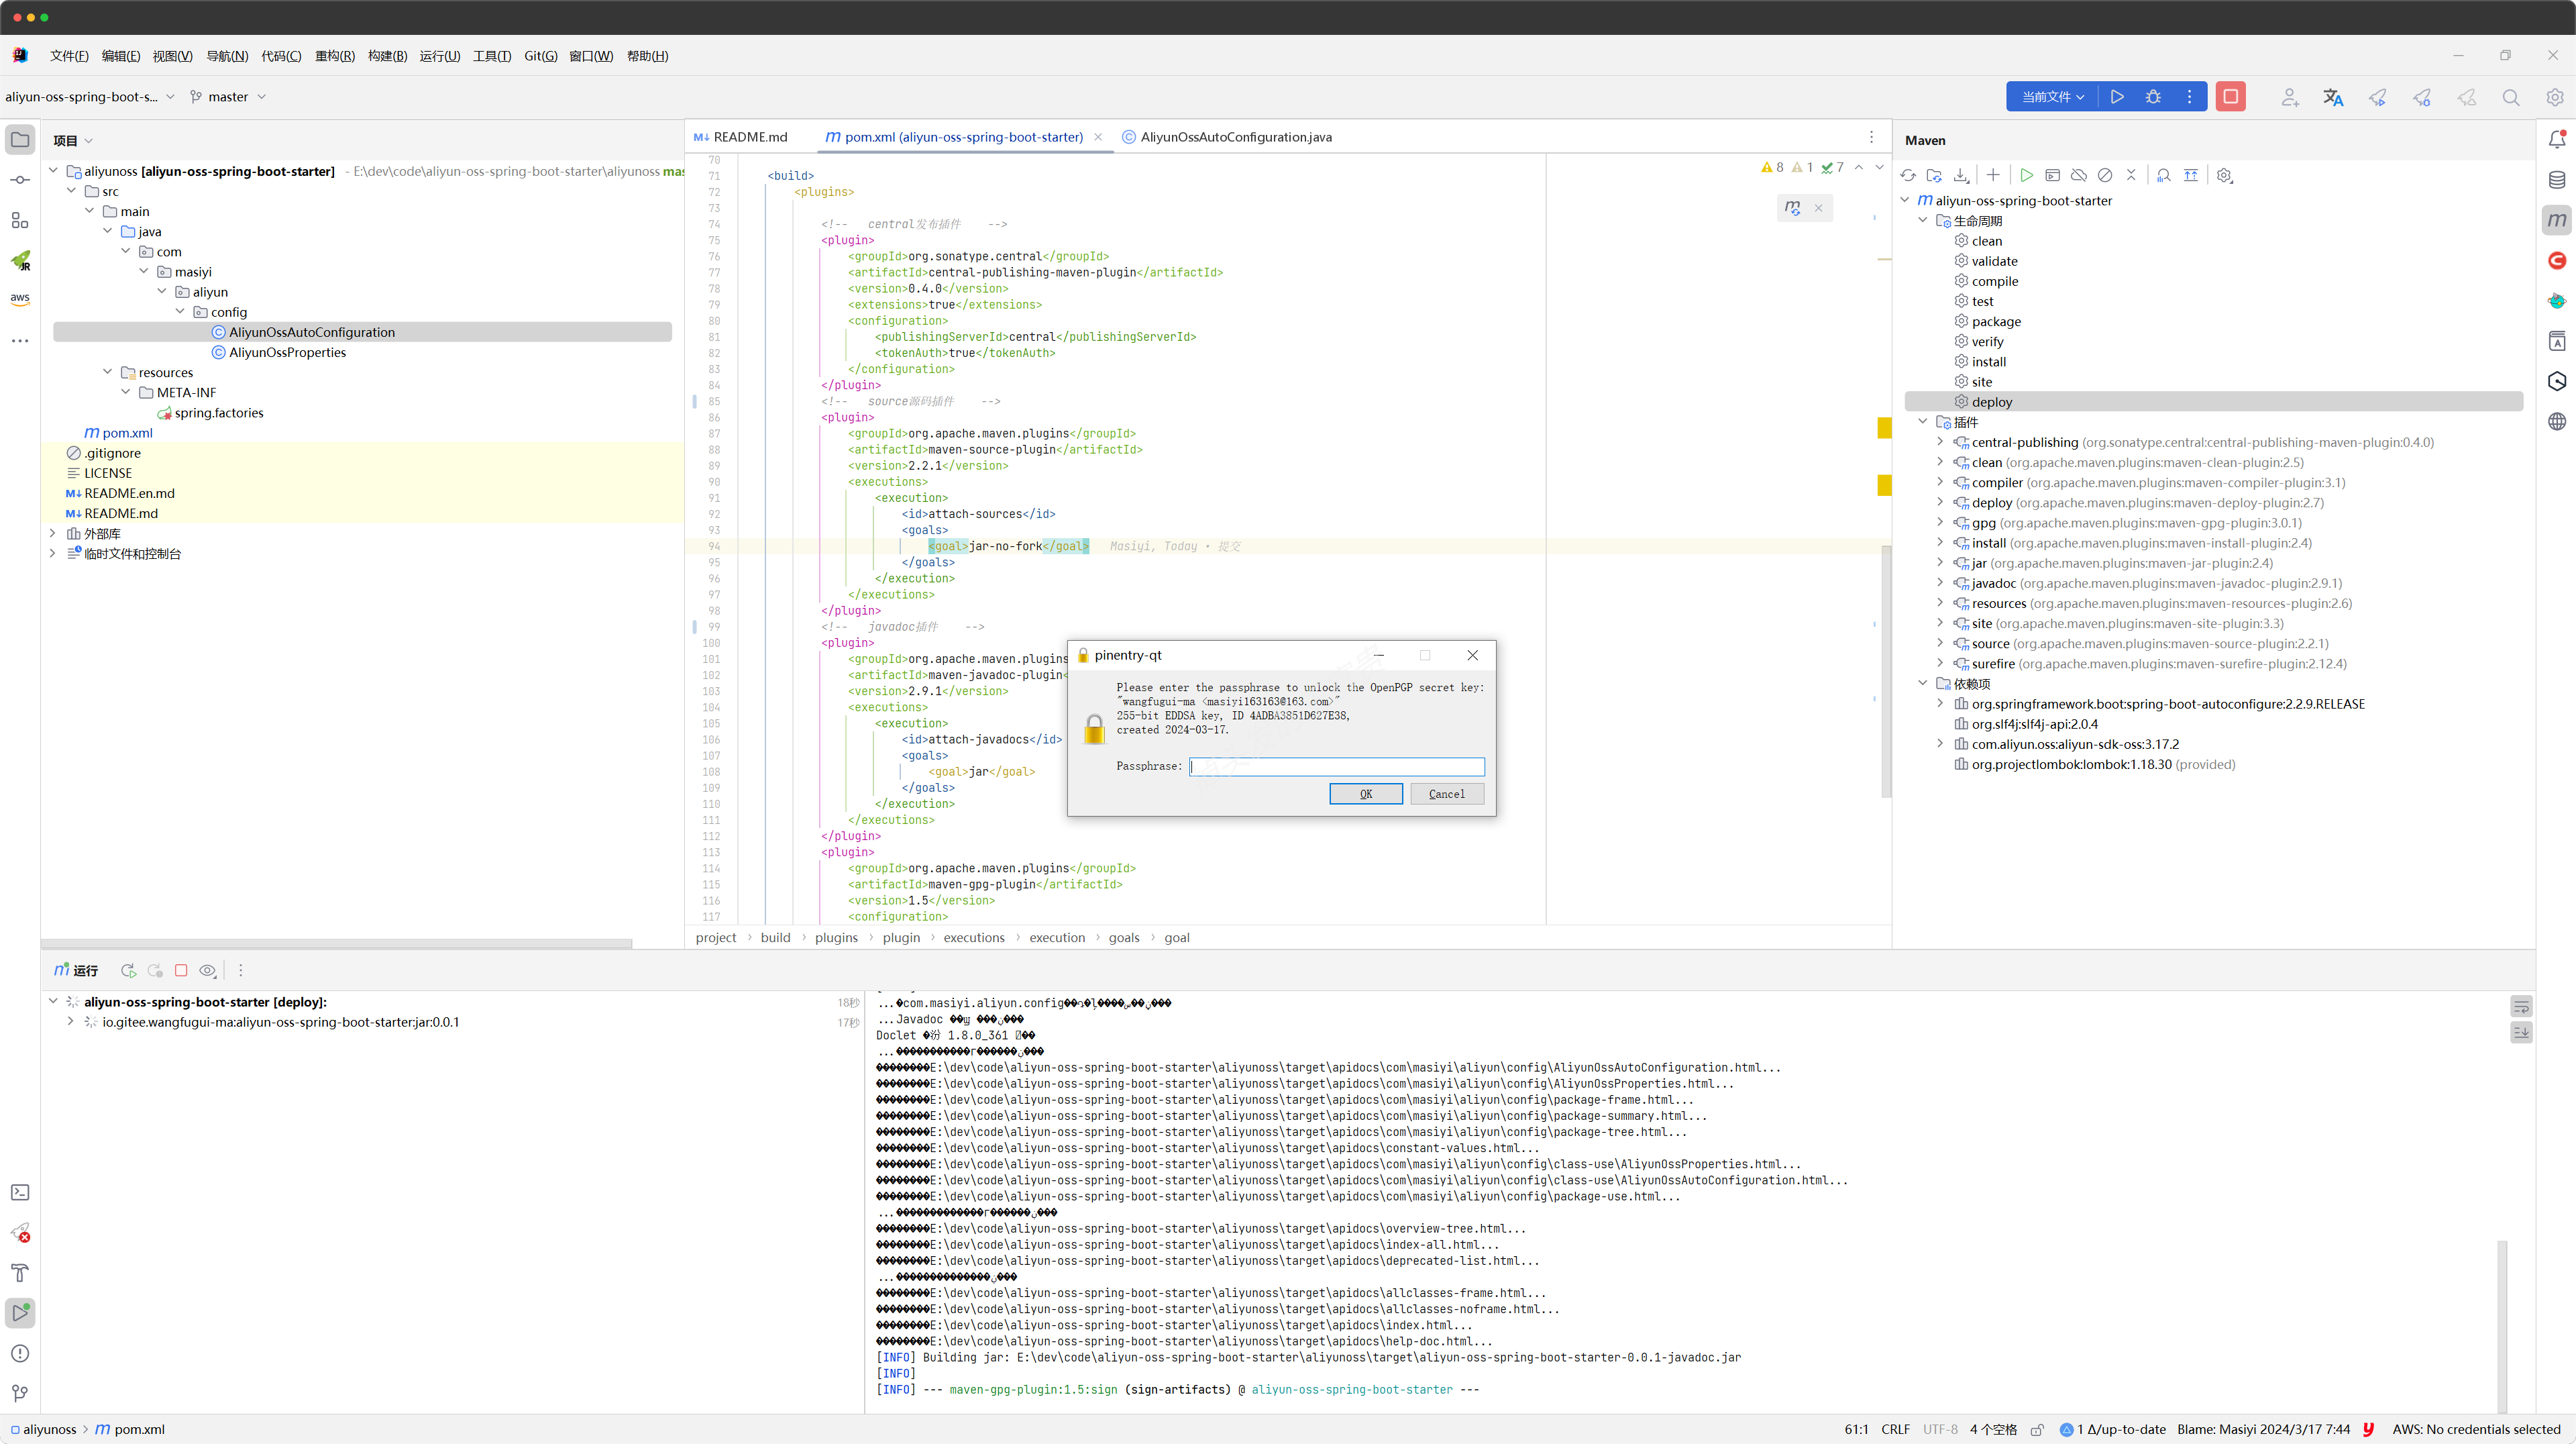
第二步,打包上传 mvn 先clean 后deploy
这个时候会让你输入你在开头设置的密码,输入成功开始打包上传。
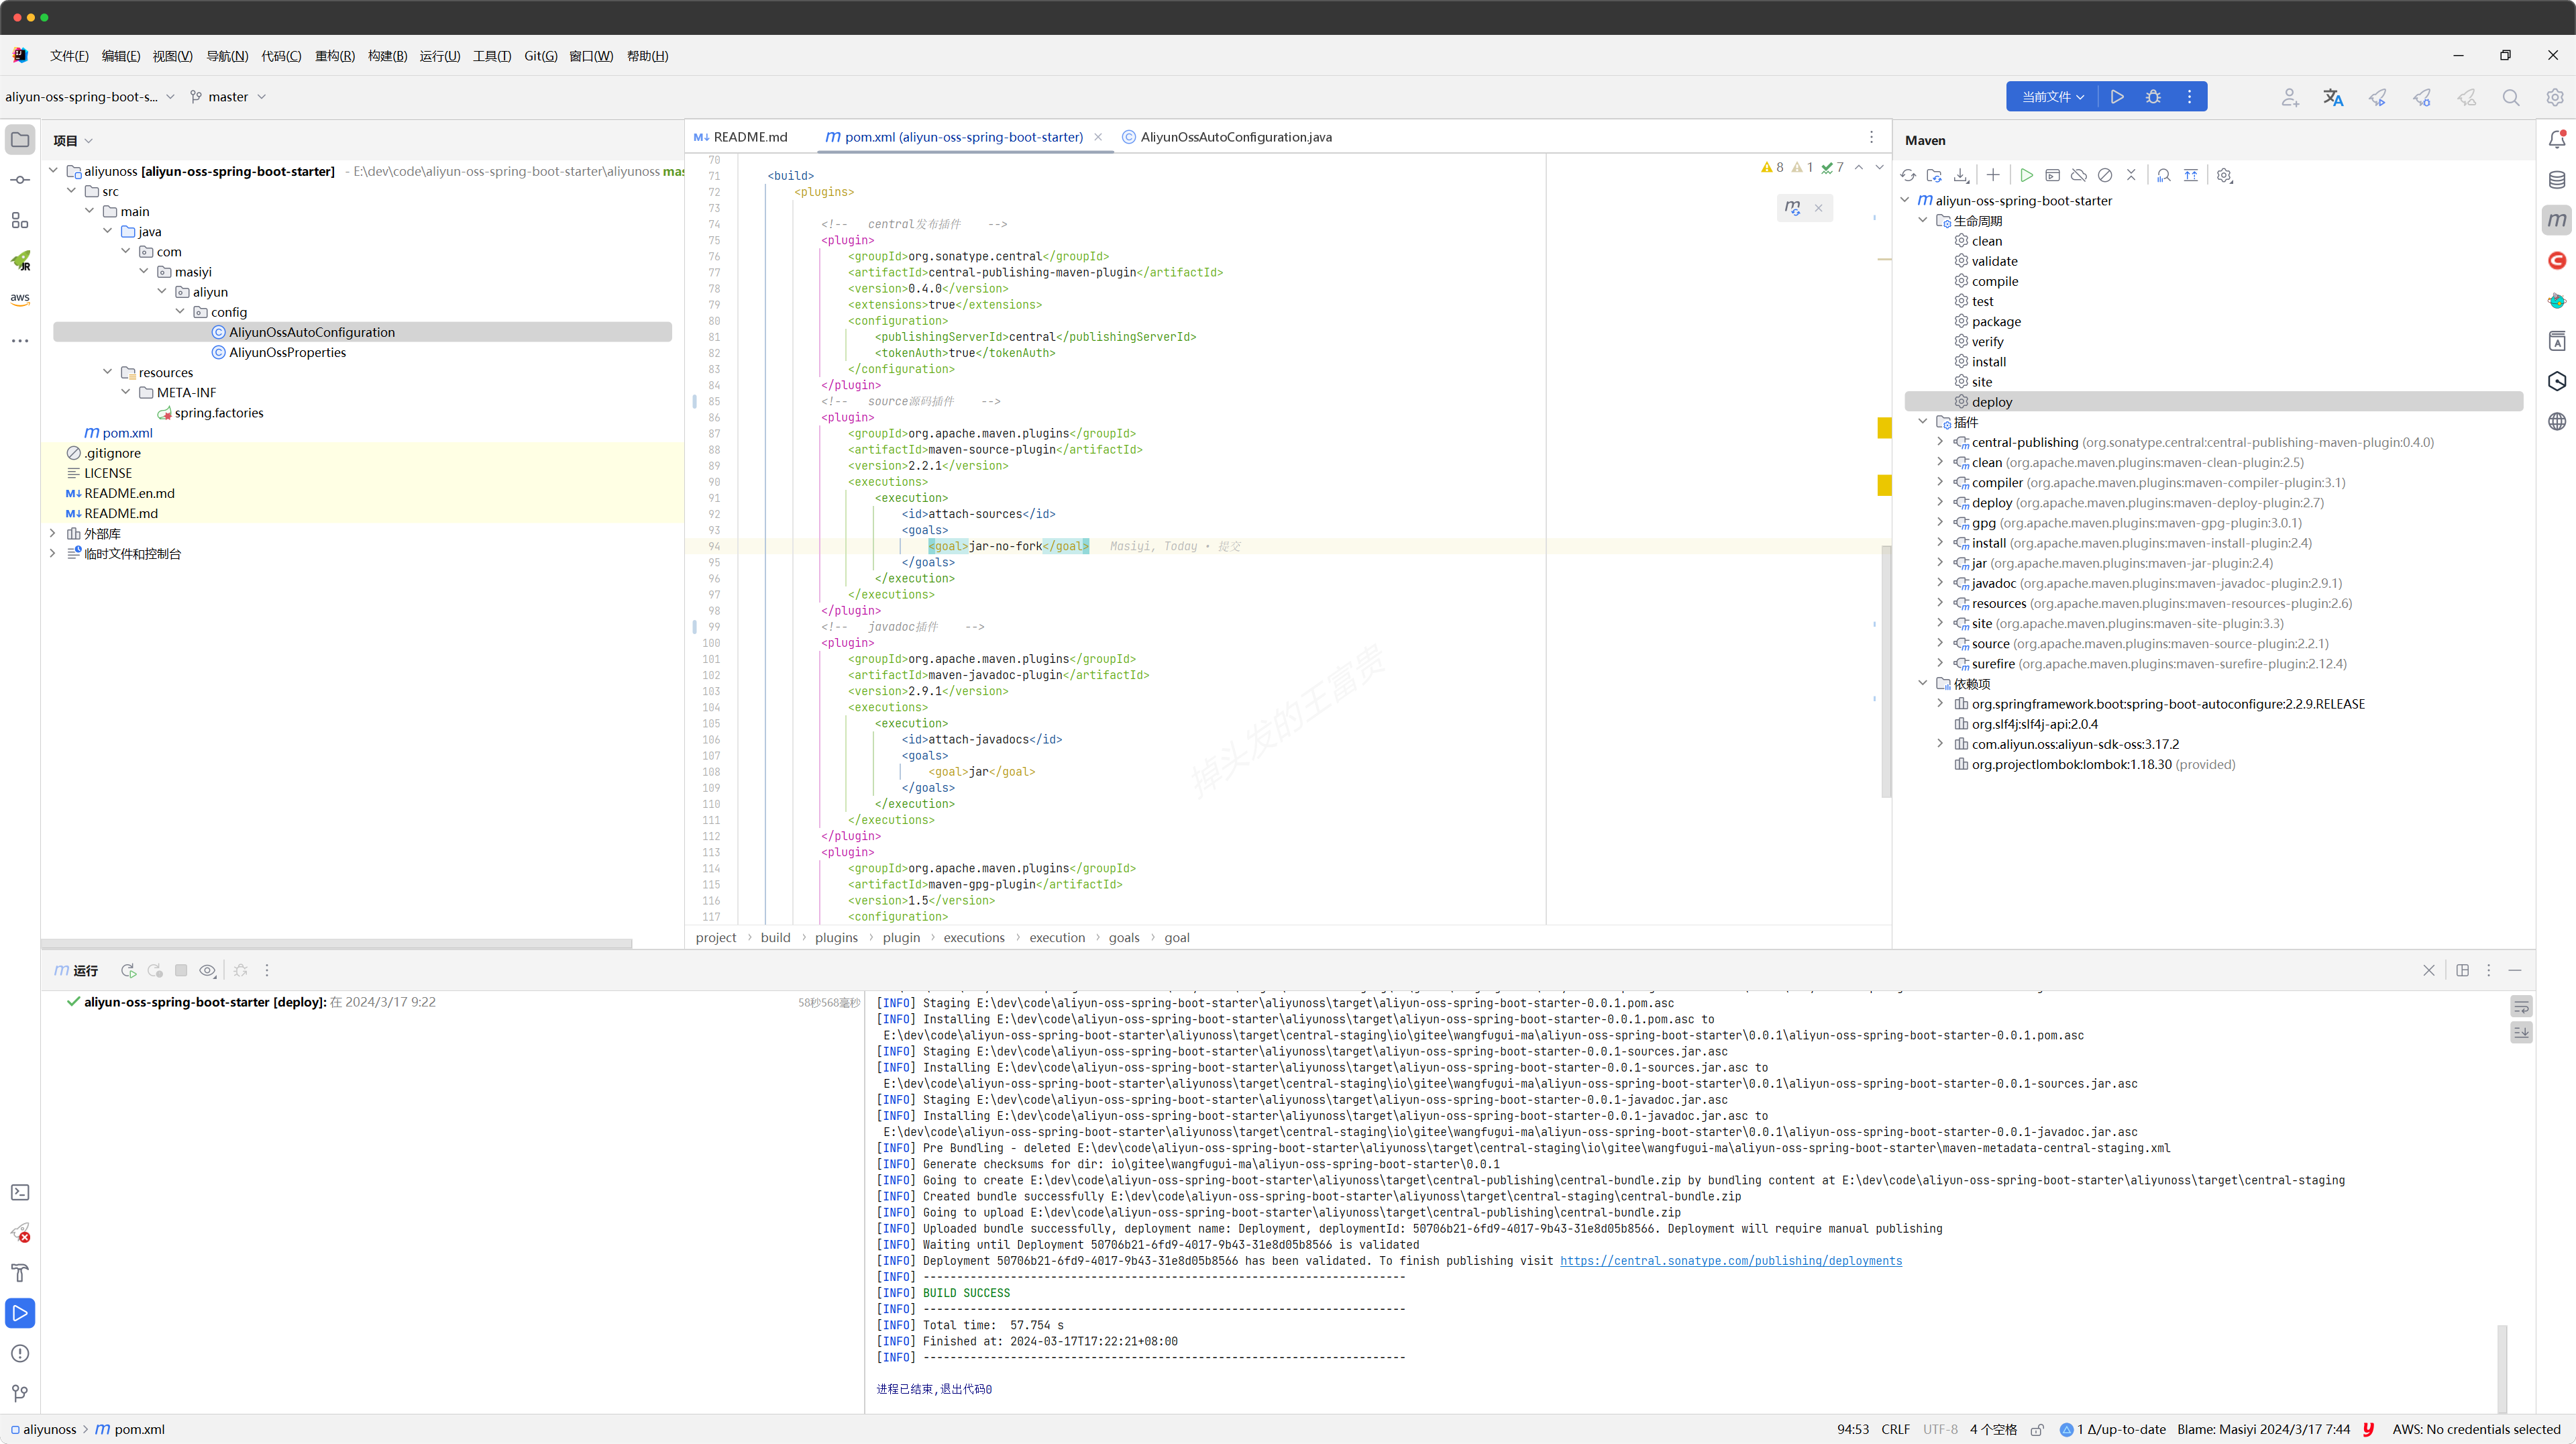
打包成功
第三步,发布jar包
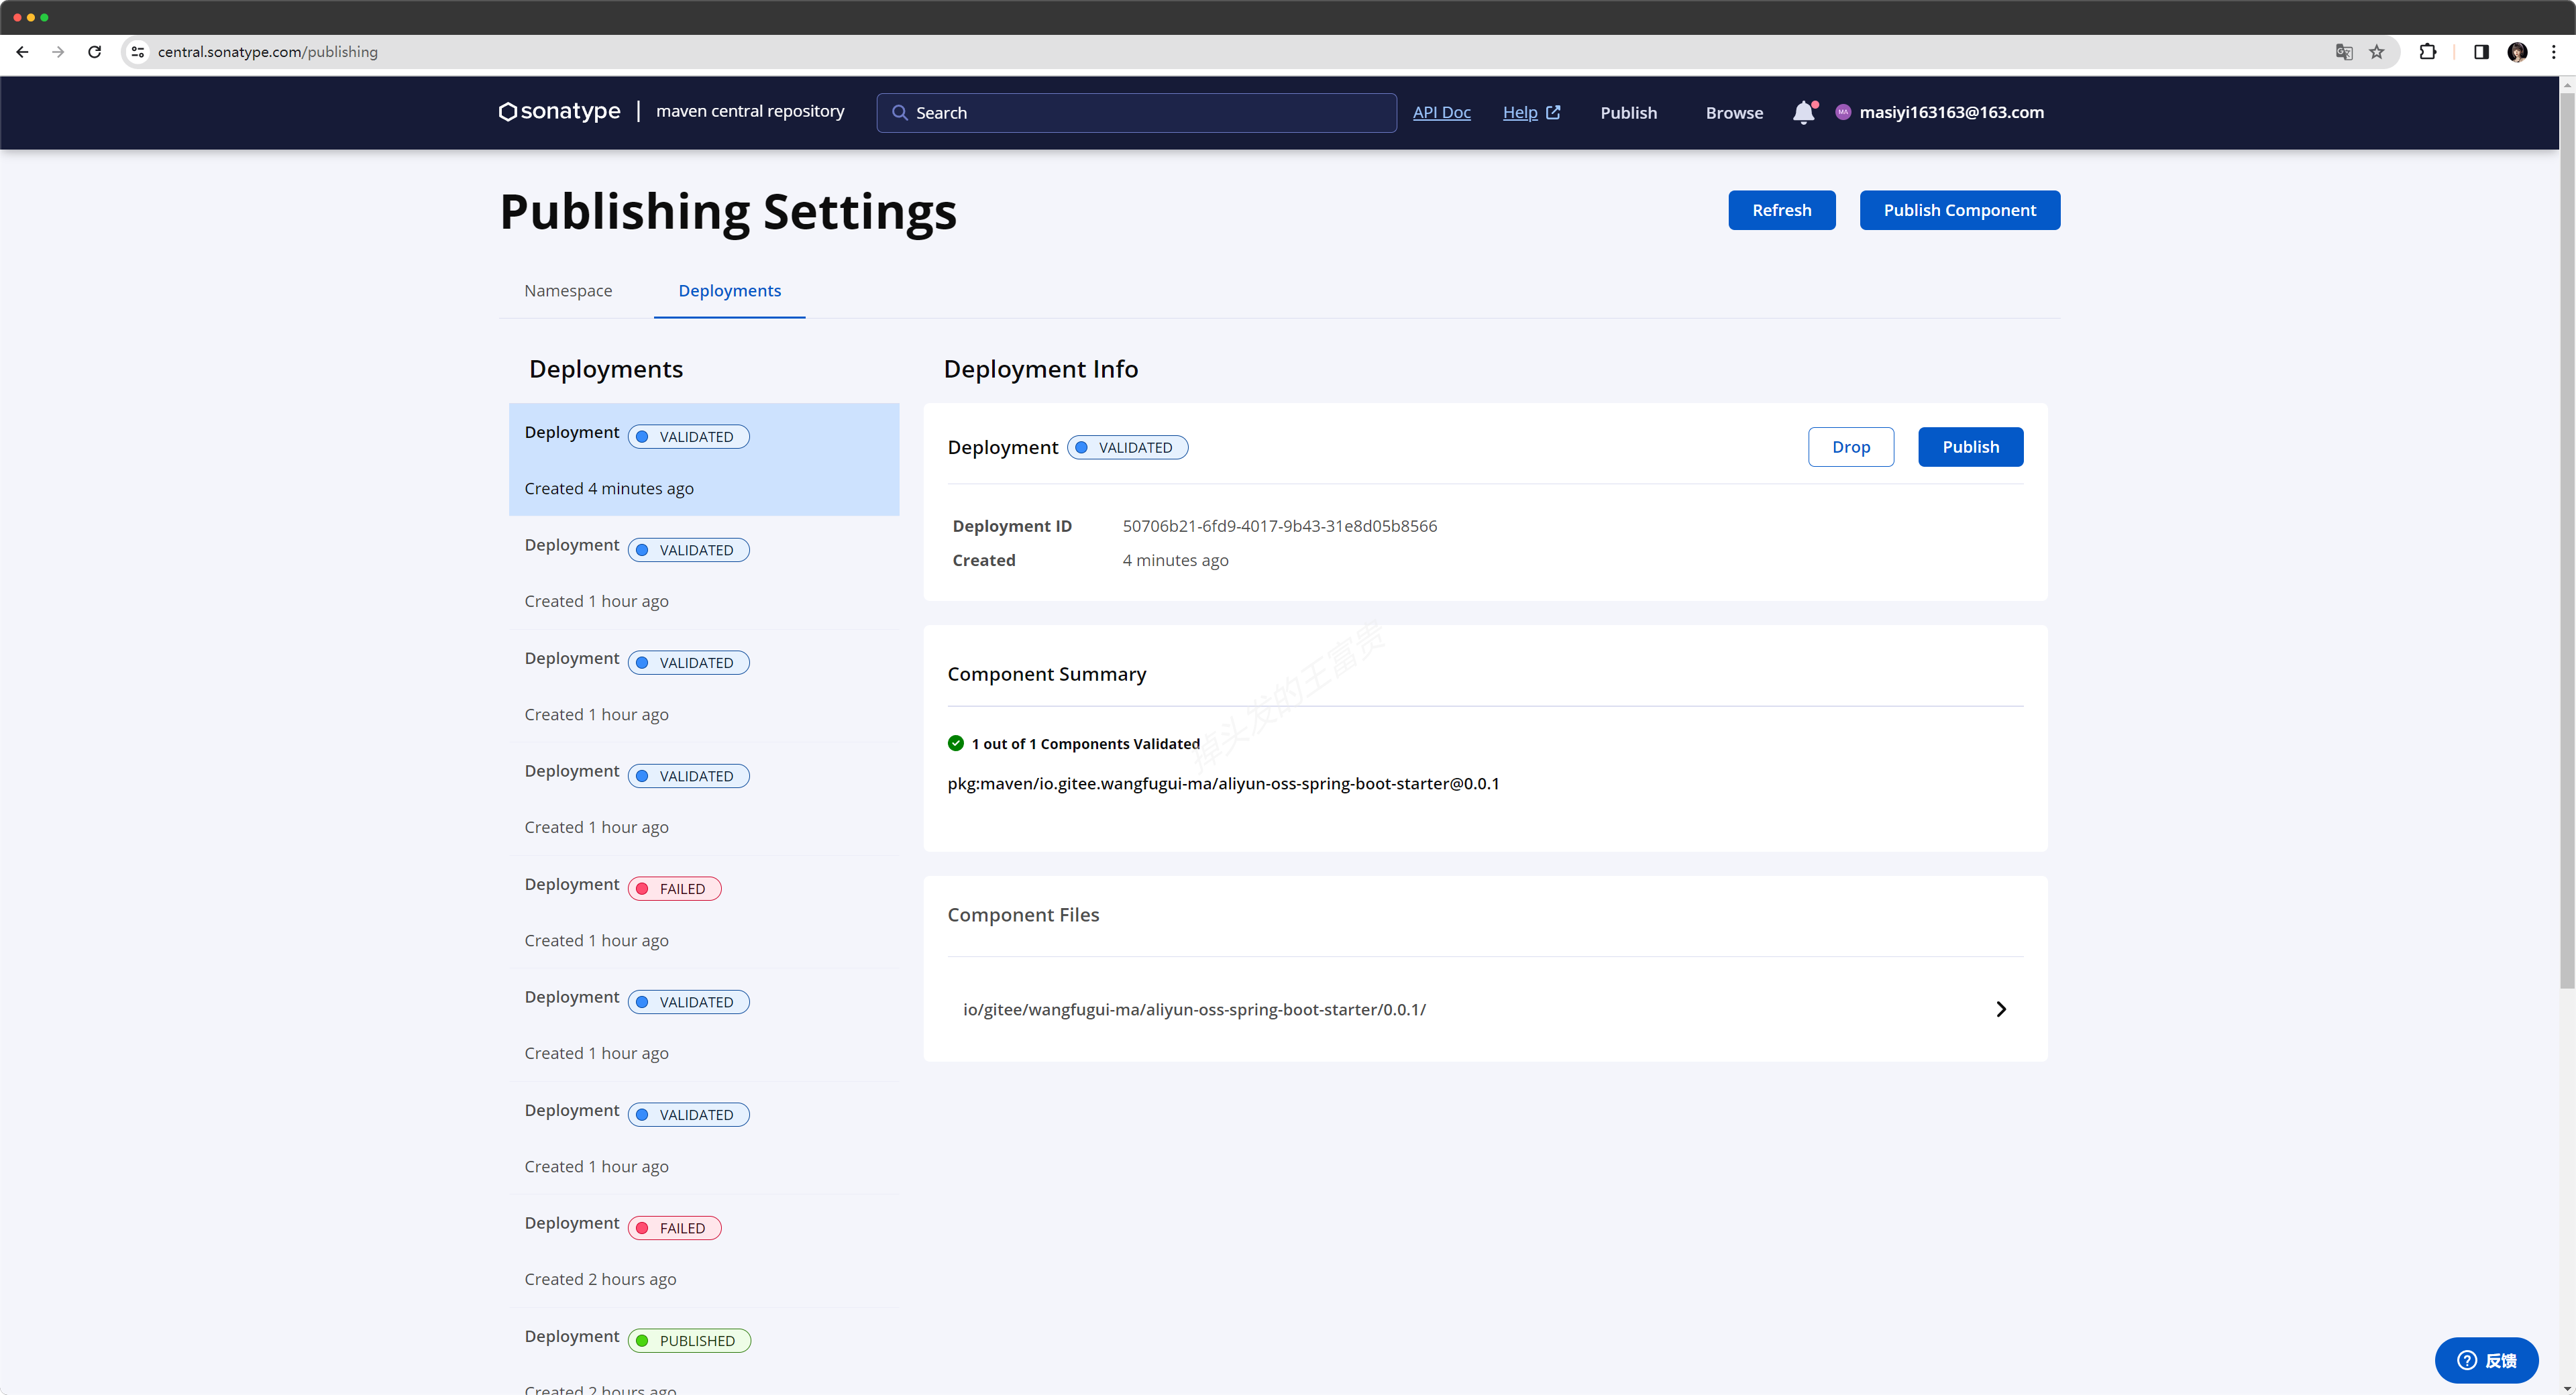
打包成功之后Deployments模块里面也有对应的步骤,刚刚我们在idea控制台看到的id是:50706b21-6fd9-4017-9b43-31e8d05b8566也就对应这个页面里面的Deployment ID
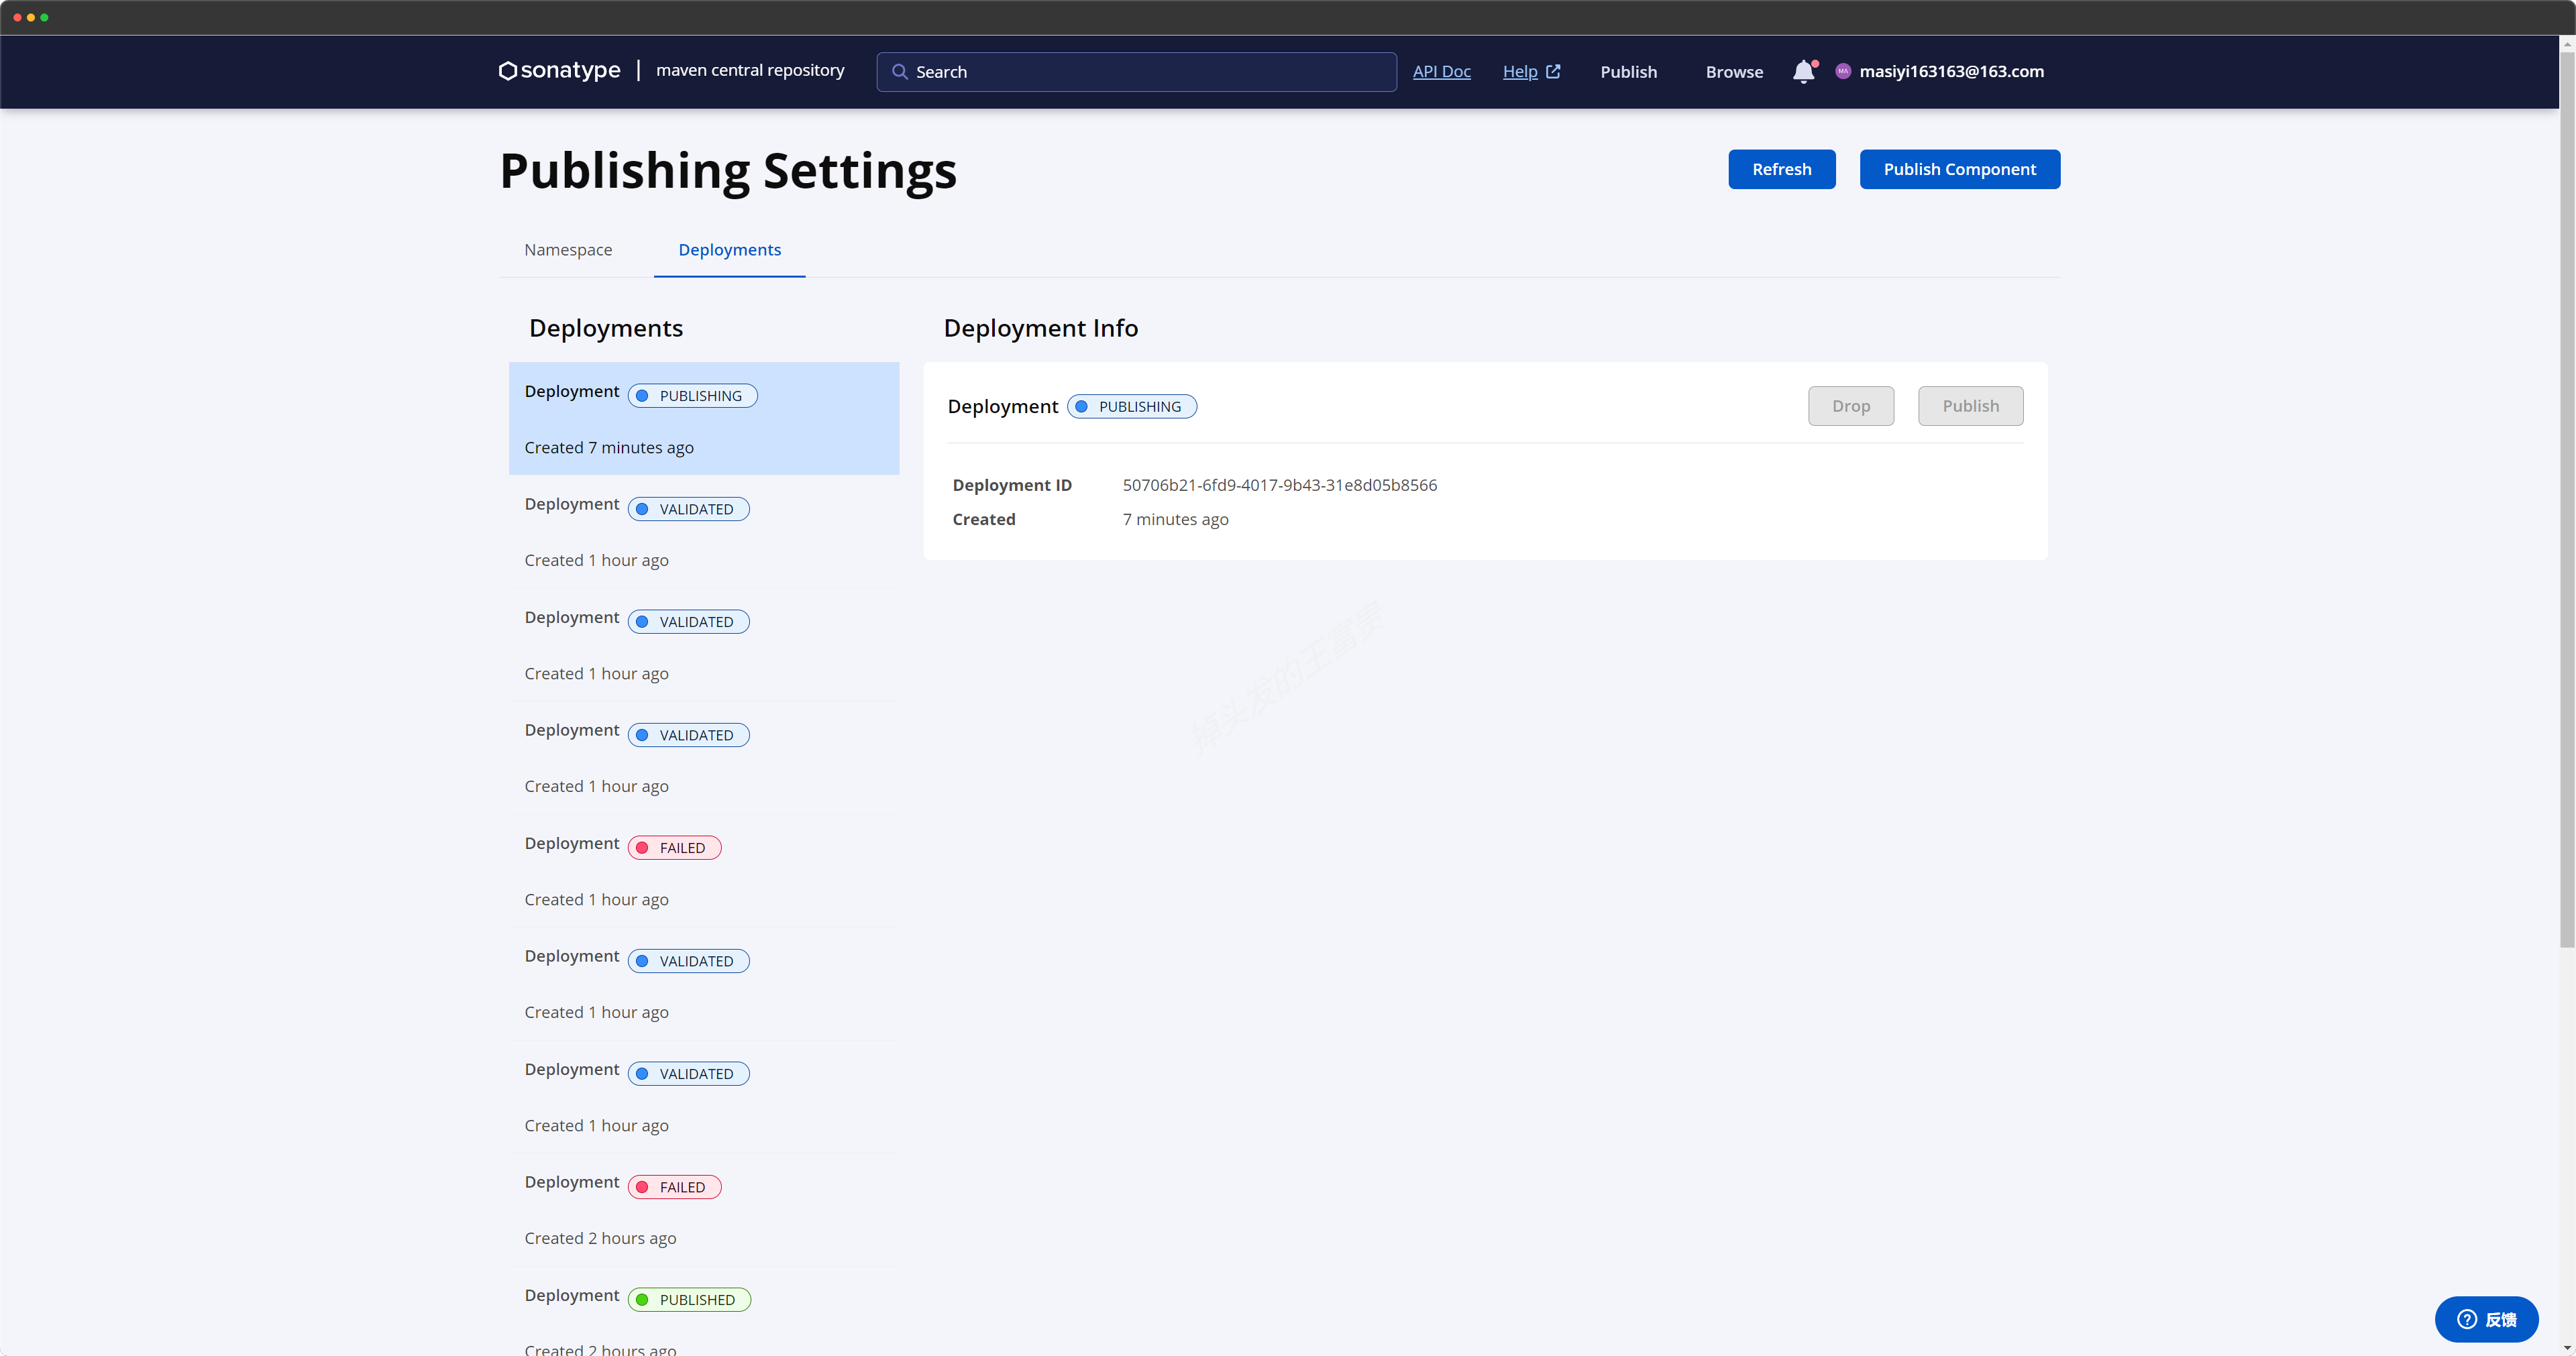
这个时候我们点击Publish意思就是将我们的jar包发布了
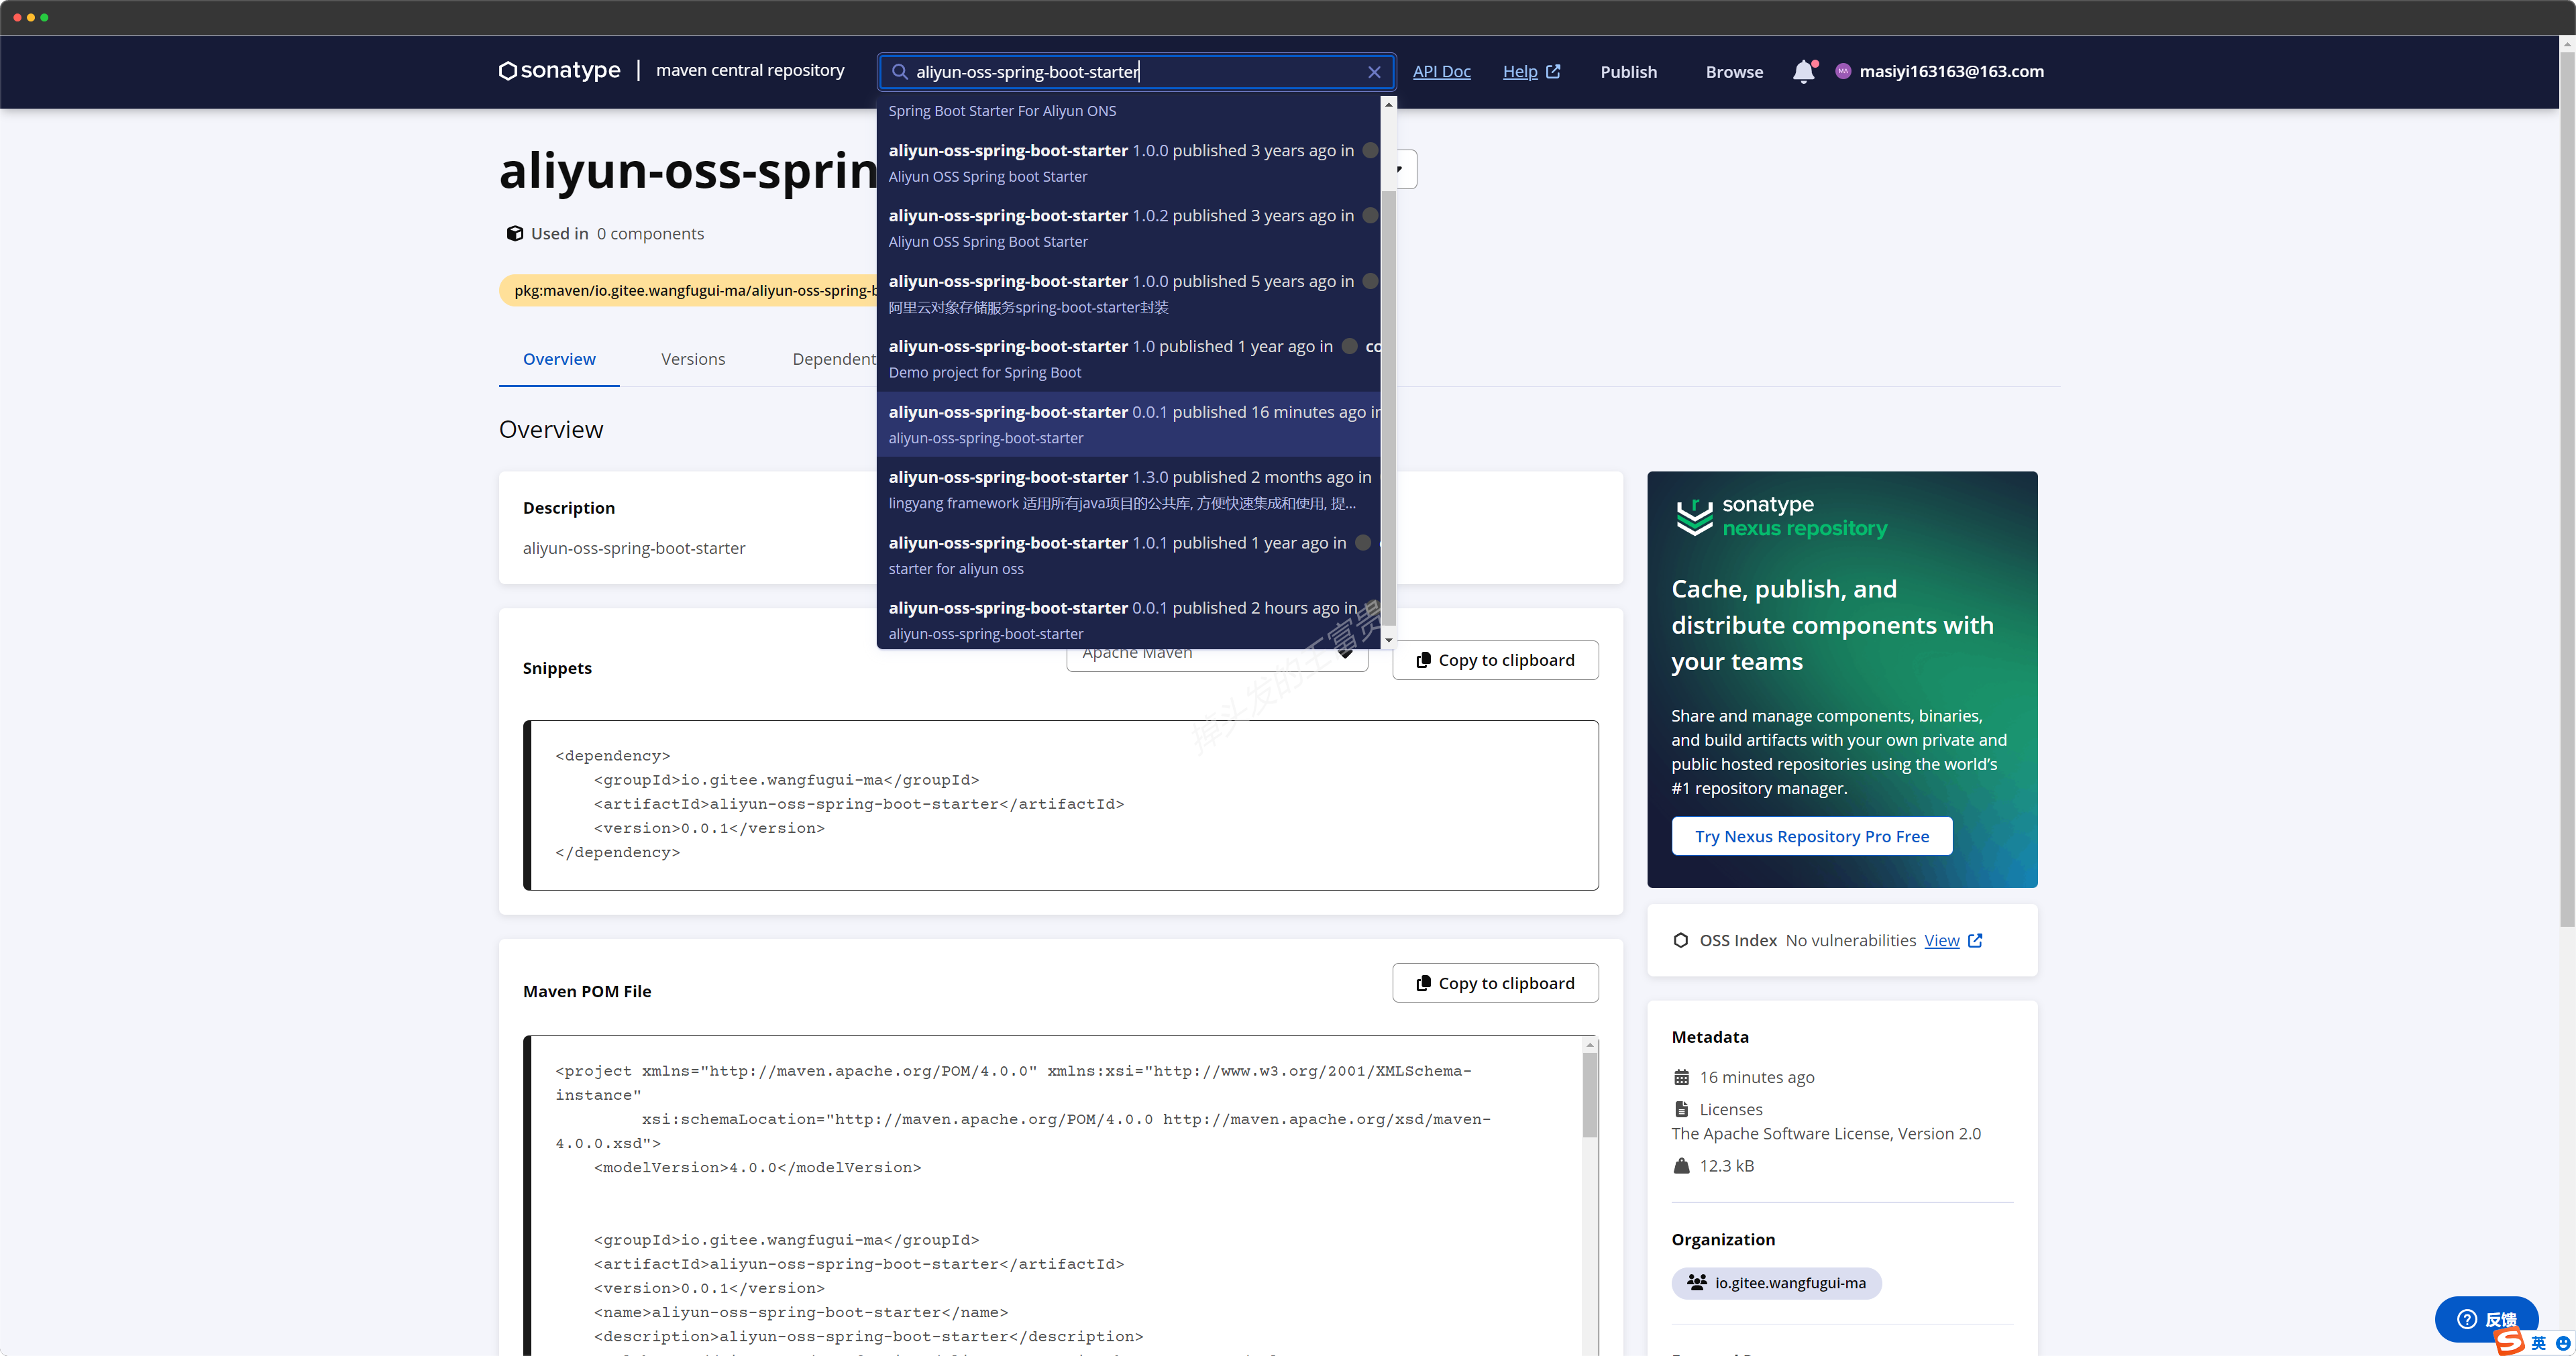
第四步,搜索我们的jar包
可以看到成功搜索到了我们发布的jar包
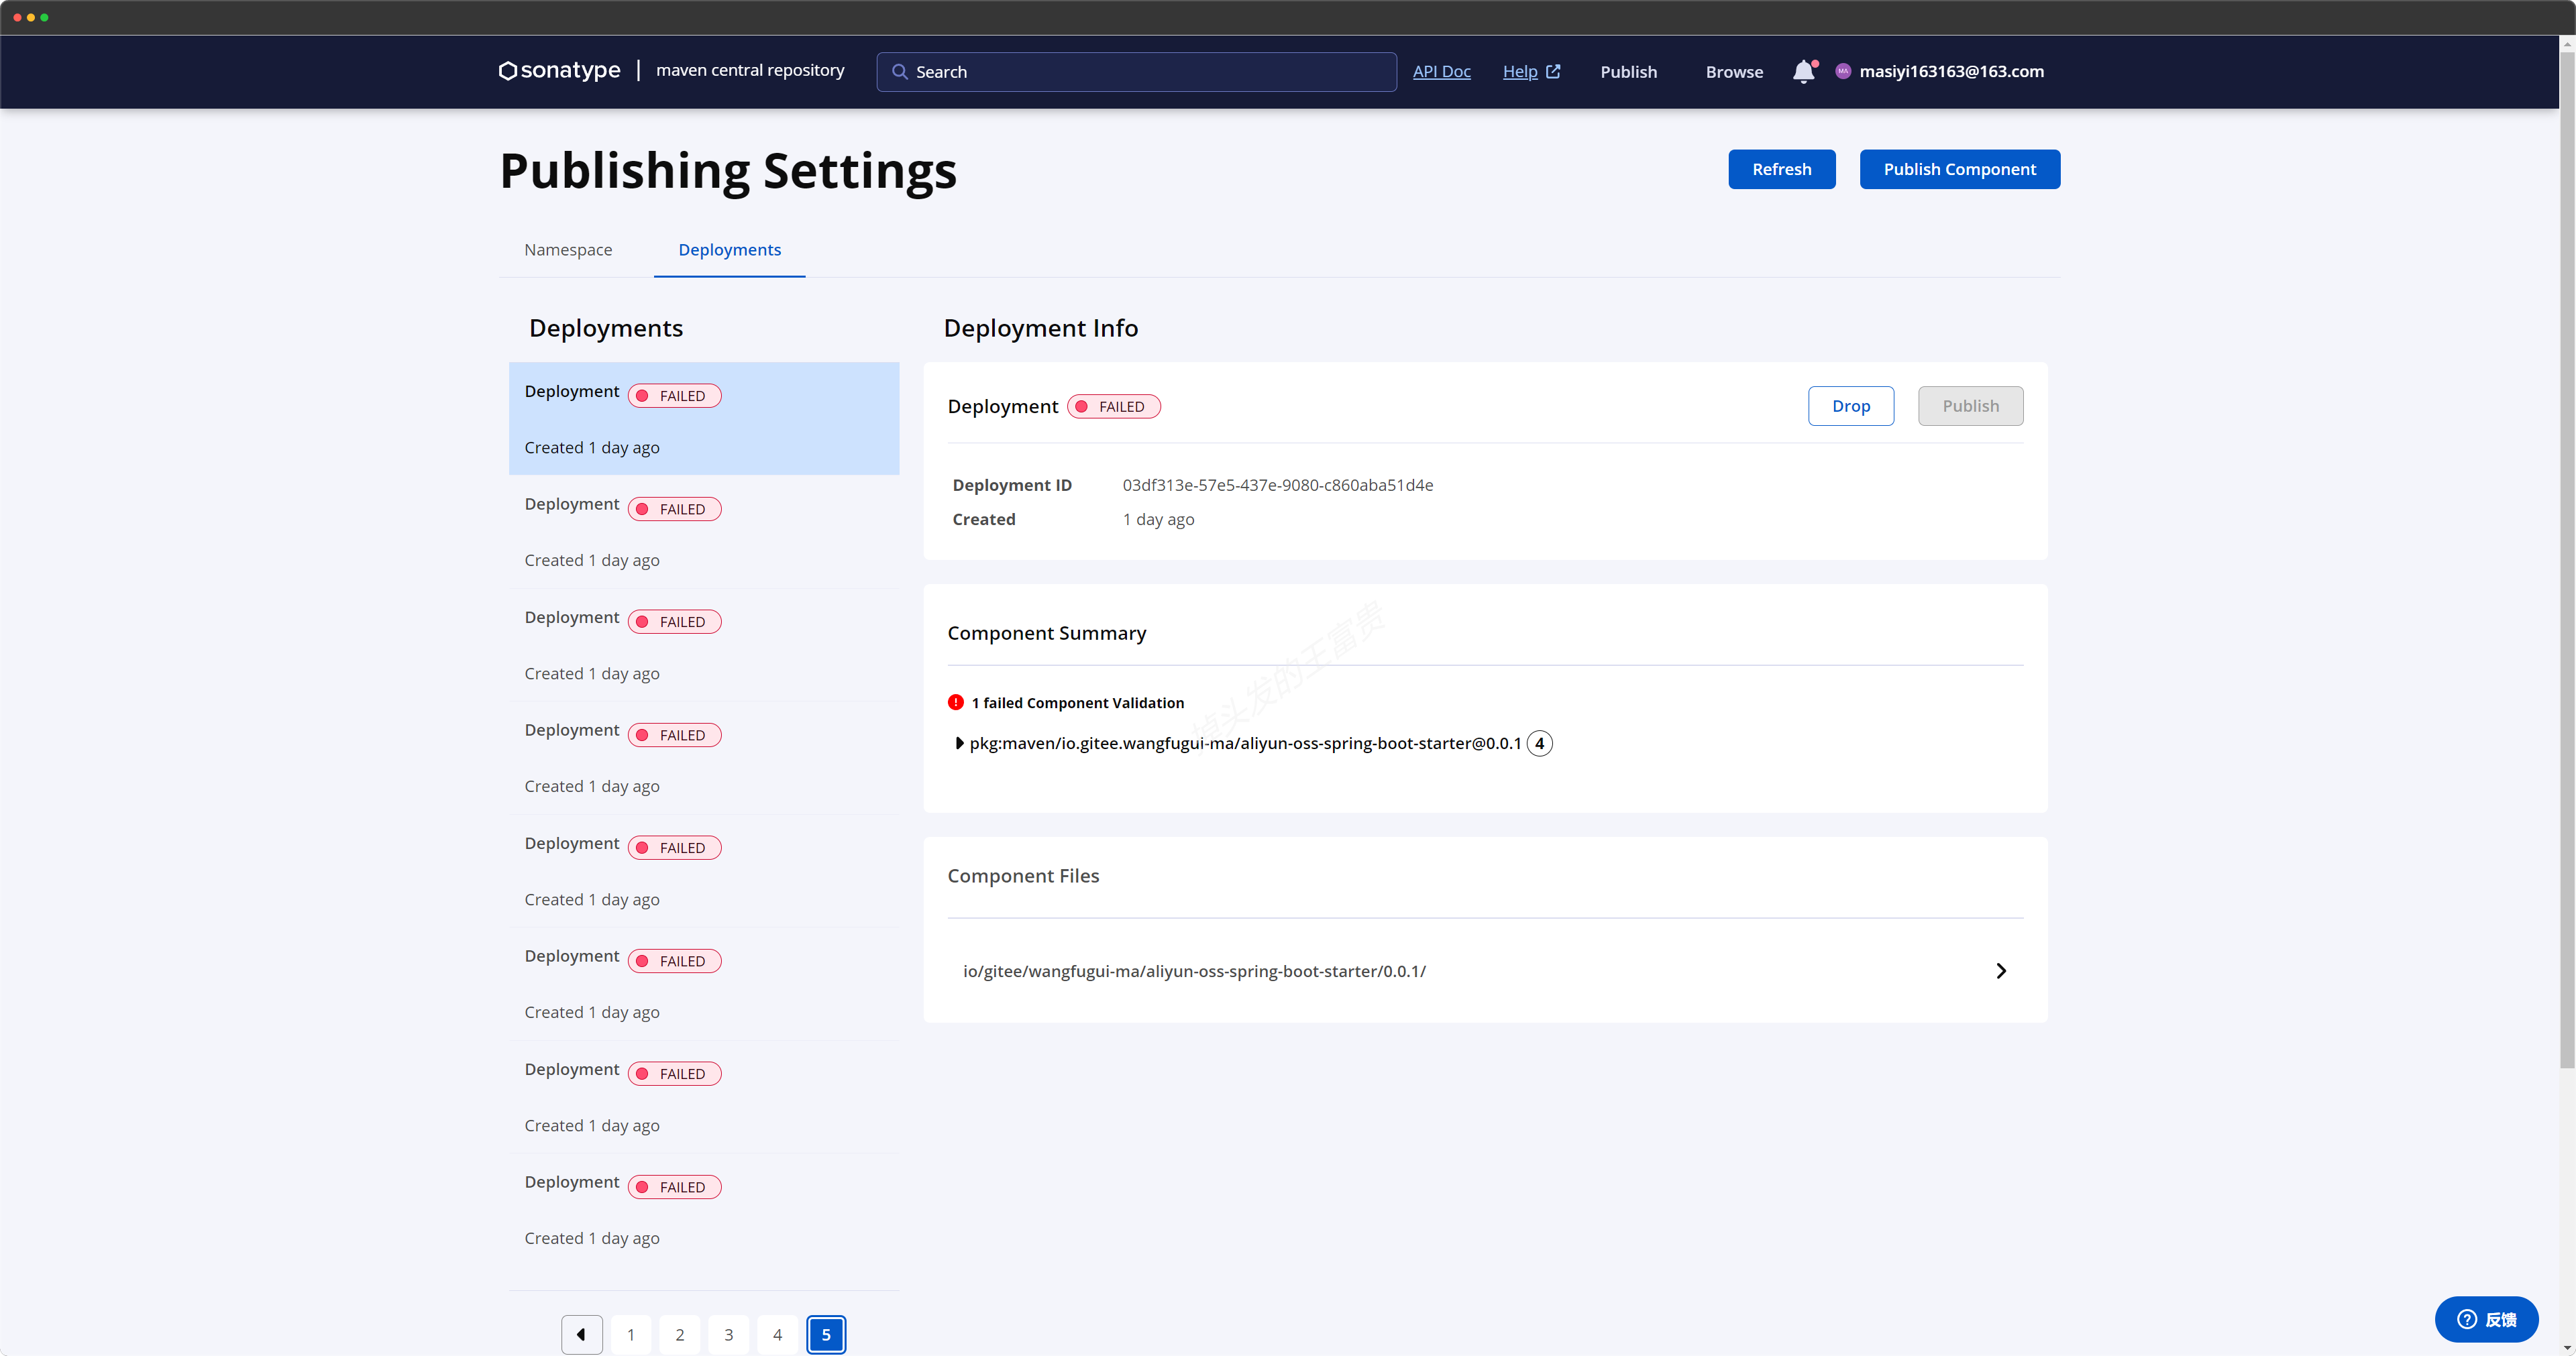
注意事项
publishingServerId 里面的值要对应setting文件里面的id
之前有gpg秘钥的时候请先导出,如何把原来的删除,否则会一直验证失败
使用mvn clean deploy 命令的时候请指定setting文件地址,如果在idea打包则不需要
Generate User Token 如果重新生成,之前的就会用不了,会报401错误
使用gpg生成秘钥的时候名称一定要填命名空间里面的名称,否则打包会一直验证失败
一定要用我发出来的pom文件里面的结构,否则会打包失败
三天验证,打包快100次失败写出来的教程,希望大家不吝啬手中的三连!!!
转自:https://blog.csdn.net/csdnerM/article/details/136784455